Author: brifishjones

WordPress Headers with a Background Image Using Kadence blocks

A full-width responsive header at the top of a homepage without css tweaks is a relatively straight-forward process in WordPress with the Gutenberg editor and Kadence blocks. This solution offers minimal bloat with fast page loads.

What you’ll need to get started is:

  • WordPress 5.5 or greater
  • Kadence blocks plugin
  • Kadence theme, which (as of this writing) must be downloaded and installed from https://kadence-theme.com

Be sure to activate the Kadence theme once it is installed.


If you plan on experimenting with other Gutenberg blocks you can optionally install these plugins:

  • advanced-custom-fields
  • advanced-gutenberg-blocks
  • atomic-blocks
  • custom-color-palette
  • editor-blocks

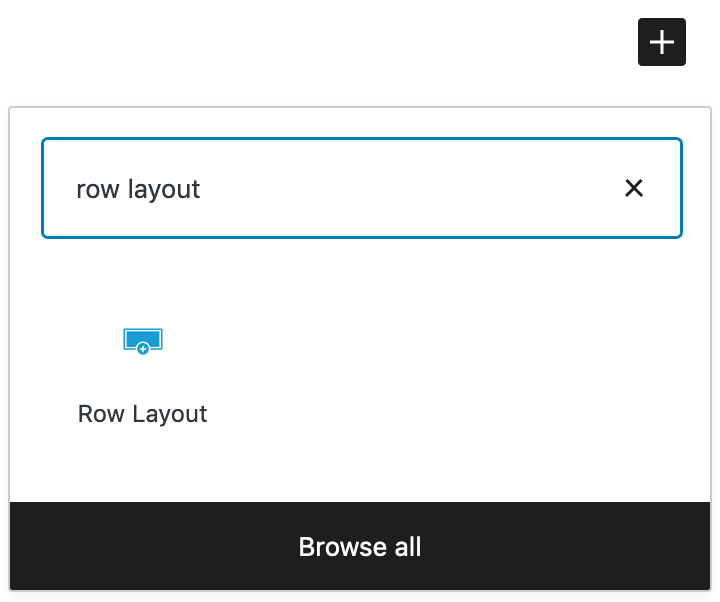
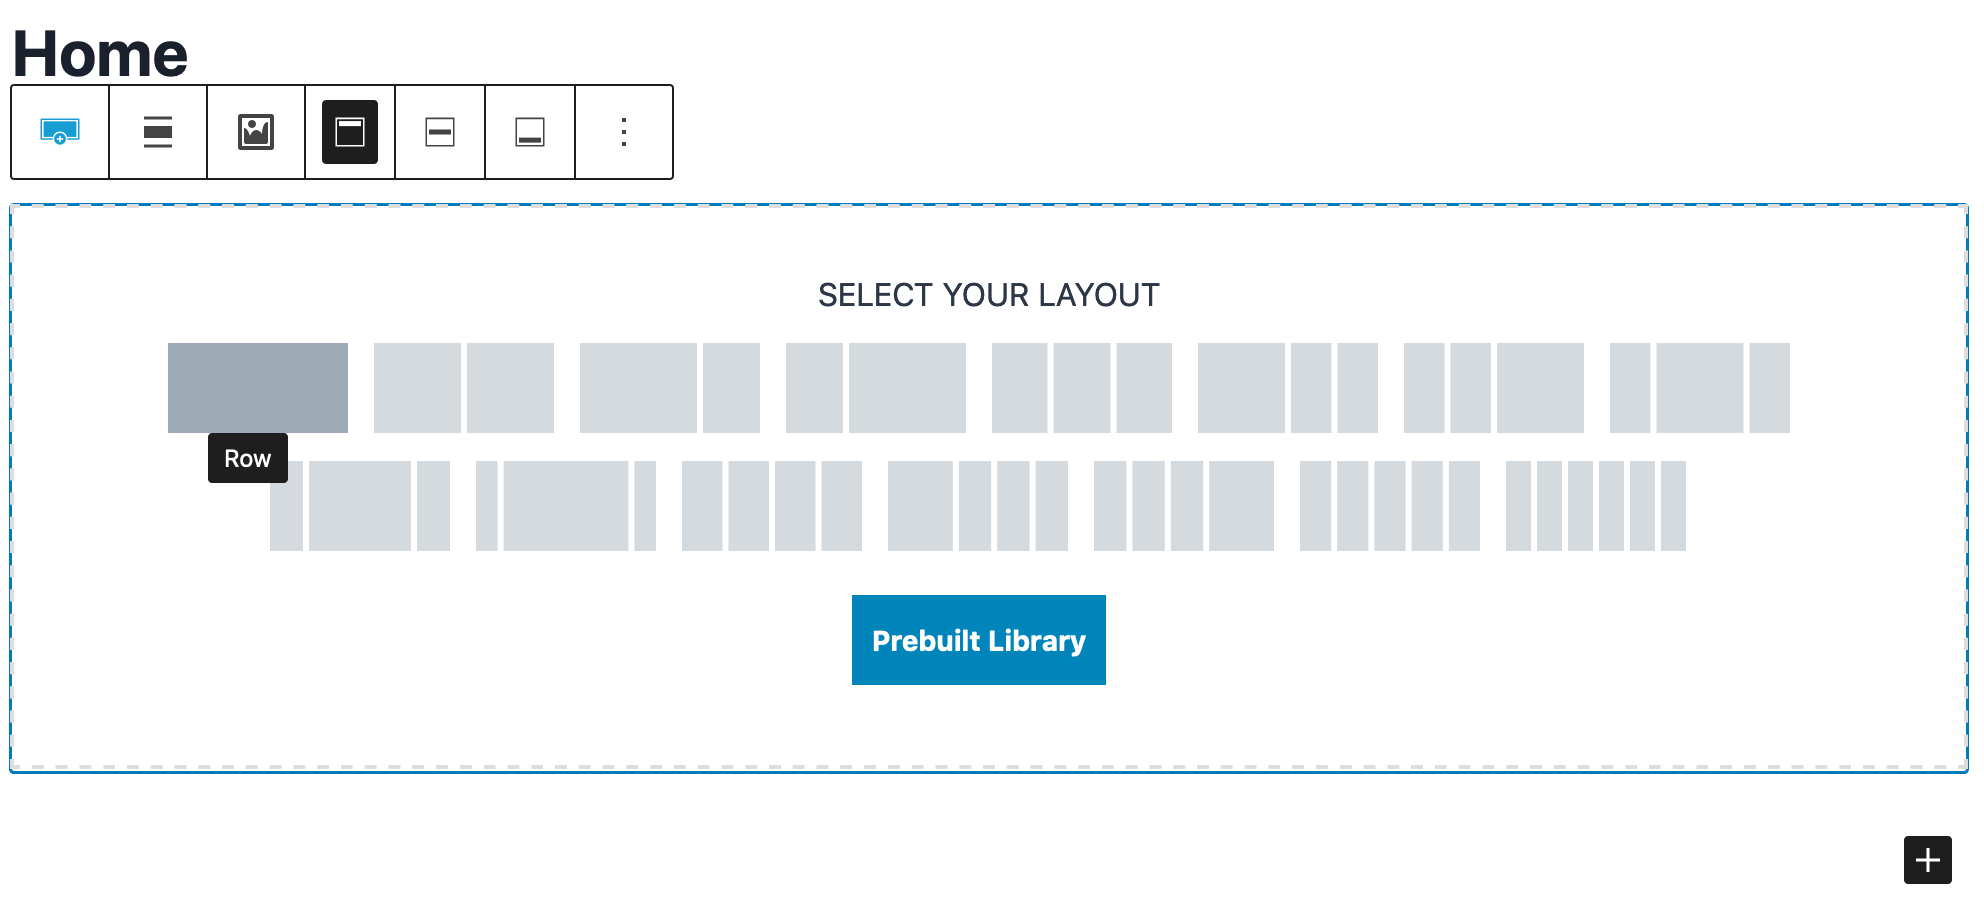
Let’s get started by first creating a home page. Go to Pages and click the Add New button. Enter Home for the page title. Click the + to add a new block and choose the Kadence Row Layout block. Select one column from the list of column options.
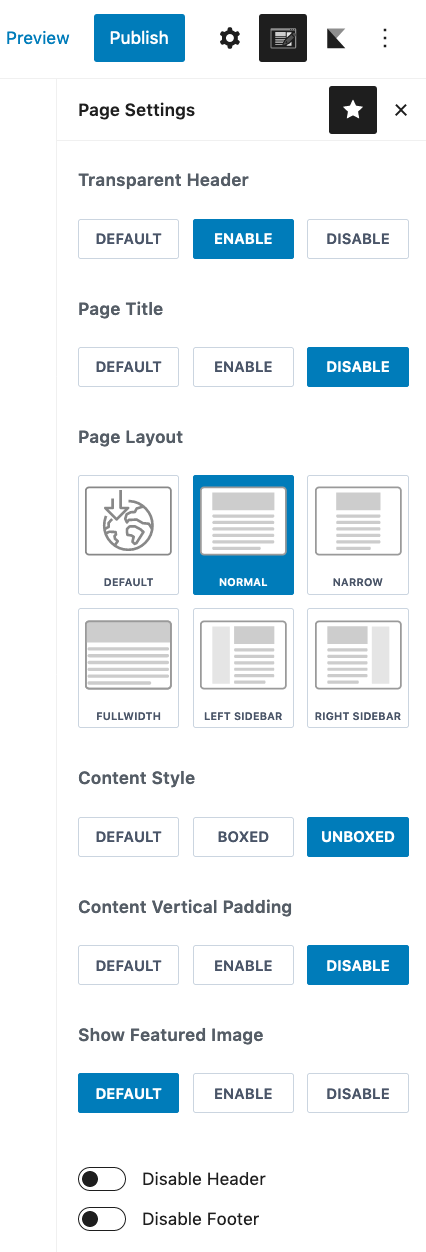
In the right column set the Page Settings as shown in the image below:
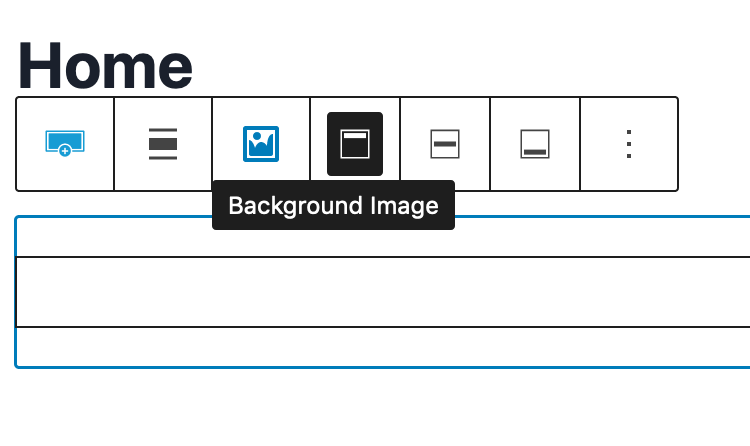
Now set the background image by selecting the Background Image icon in the Row Layout block. Choose an image that can be displayed both horizontally and vertically. A good rule of thumb is to have a horizontal width of 1920 pixels and a vertical width of 1280 pixels. The image size should be in the 300 to 500k pixel range.
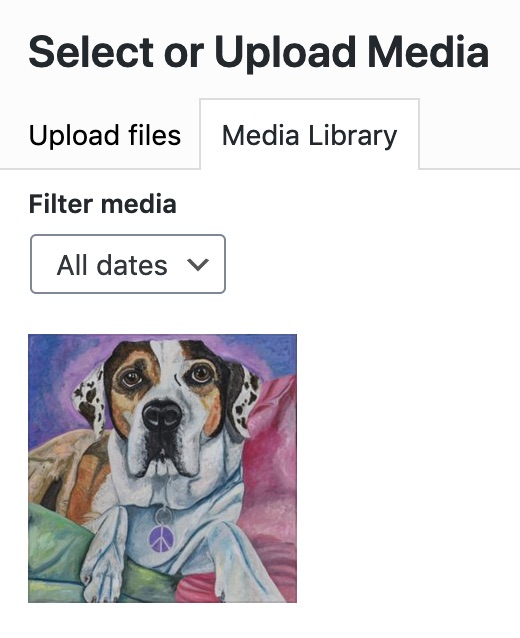
Once the background image appears in the page edit window, the settings for the Row Layout block need attention.
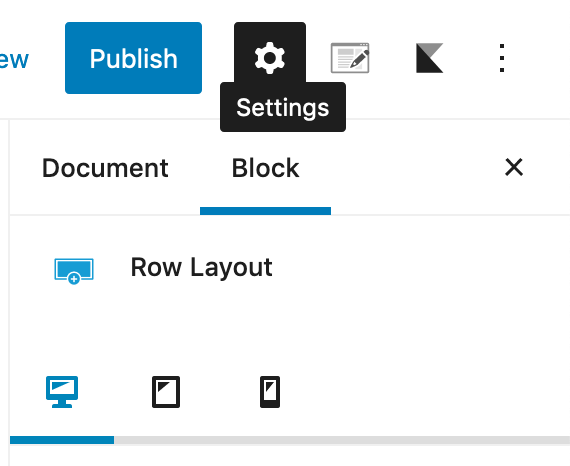
Alter the Padding/Margin dropdown:
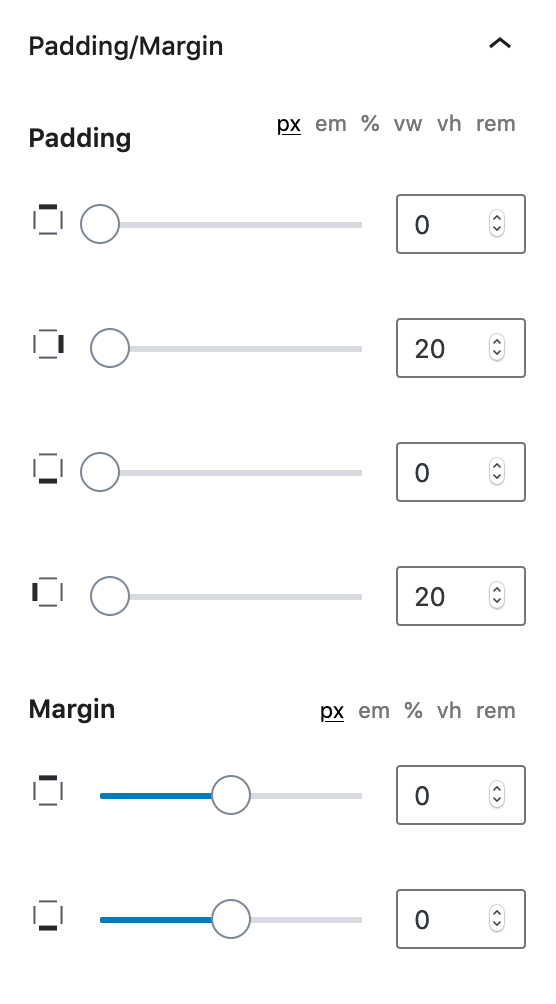
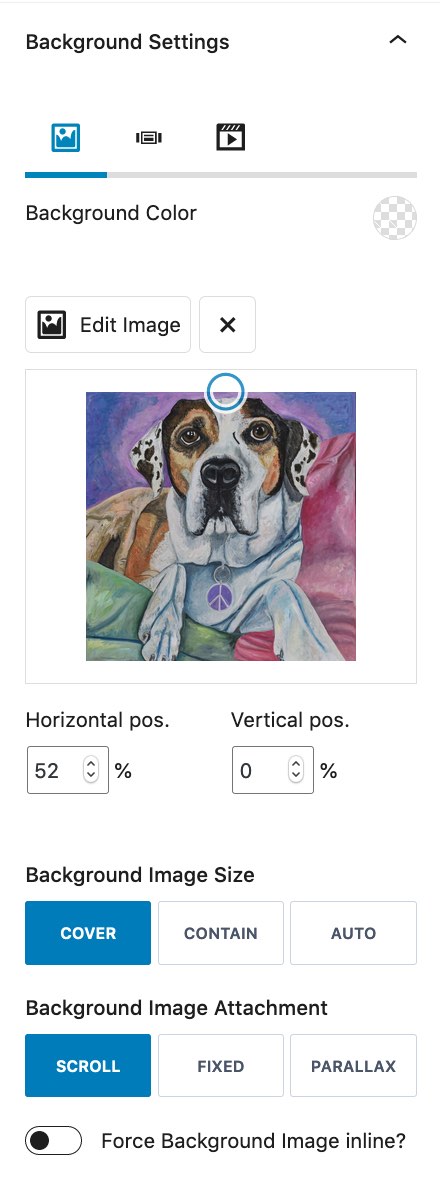
Under Background Settings set appropriate Horizontal and Vertical positions using the blue circle on the thumbnail image so that the image renders the most important content on all devices.
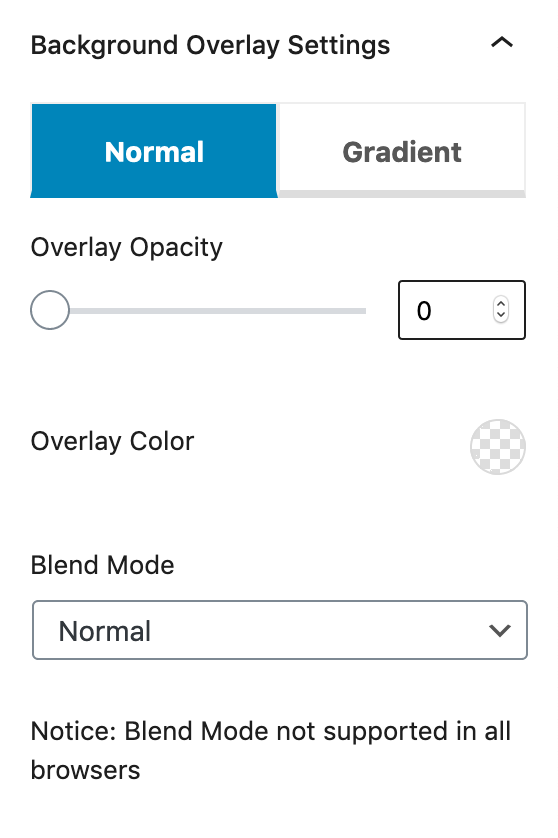
Set the Overlay Capacity to 0 in Background Overlay Settings.
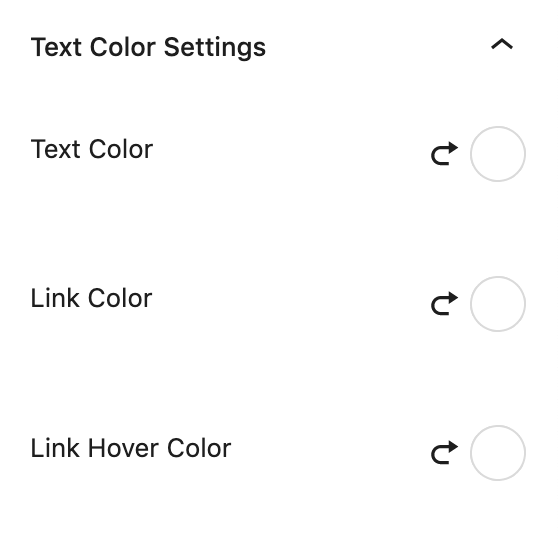
For the purposes of this demonstration set the text, link, and link hover colors to white.
Finally the Structure Settings should be changed.
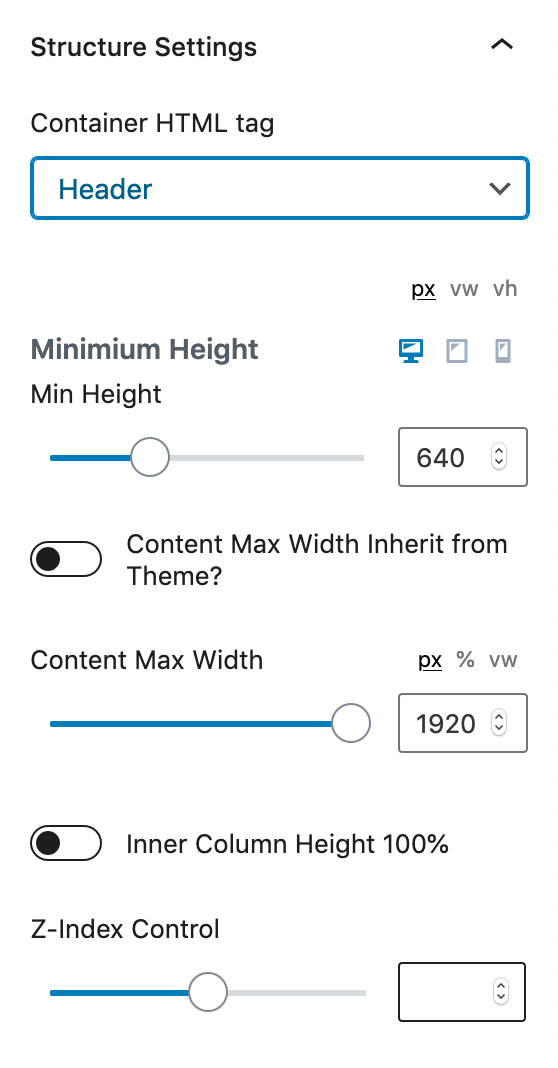
 

The last modifications to the Row Layout block are to:

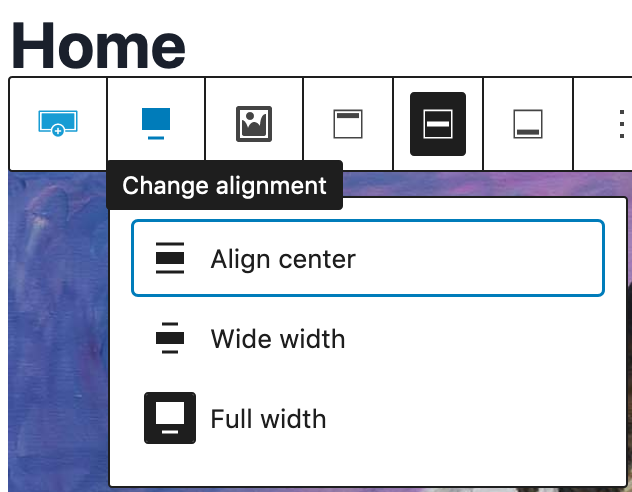
  • change alignment to Full width
  • chose Vertical Align Bottom

Now that the background image is in place let’s move on to the headings. With the column block selected from the Block Navigation menu add the Kadence Advanced Heading block. Make it an H1 block and adjust the font size.
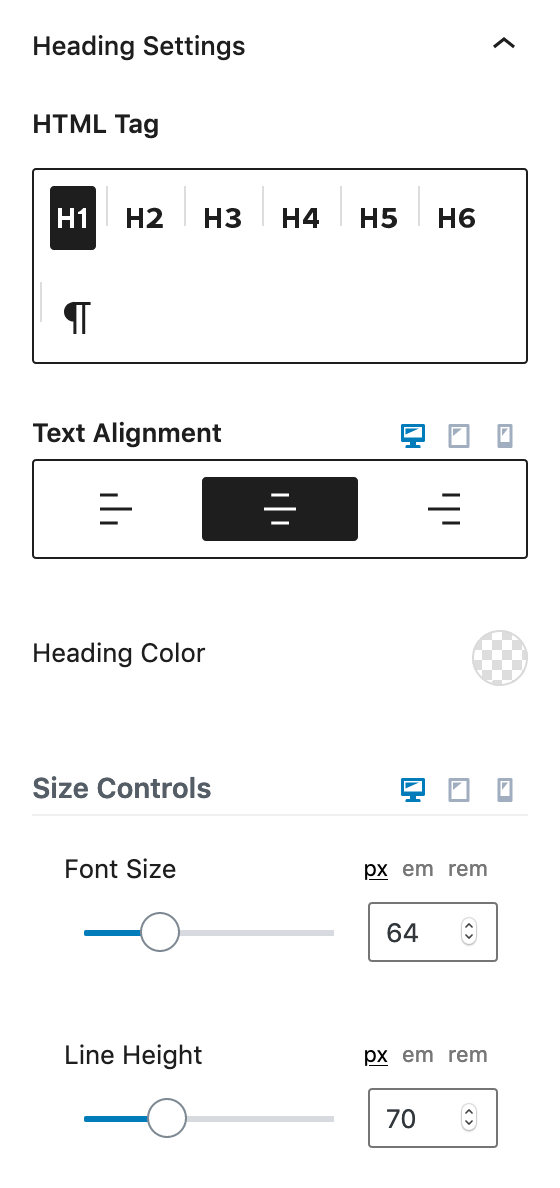
 

Add another Advanced Heading block, this time an H4 block.

Add a text shadow so that the white text will pop against lighter colors in the background image.
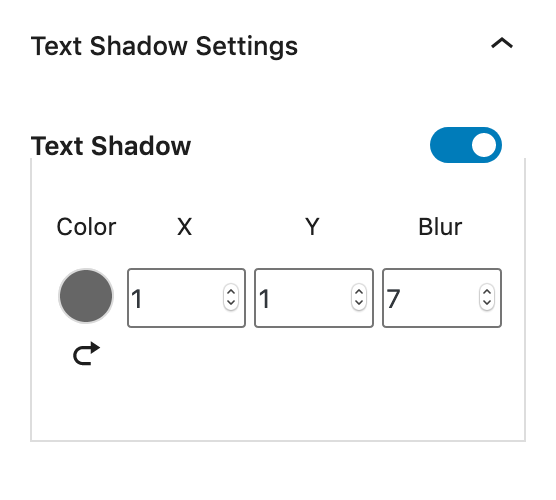
Optional: If a call-to-action is desired finish off with a Kadence Advanced Button.
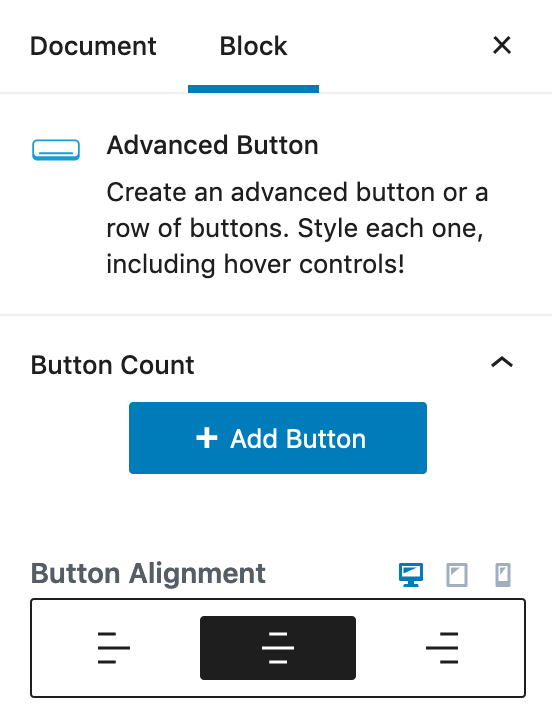
Feel free to change the button parameters such as size, background color, and hover color to suite your design.

Once H1 and H4 headings, and buttons are present font size, margins and line heights can be tweaked for desktop, tablet, and mobile designs. You can preview each size and make adjustments as needed.

The last step is to add a custom menu to the top navigation bar and make the text white. Publish the page you have been working on then choose Dashboard from the left navigation menu and select Manage Menus under More Actions. Make Top Navigation the Menu Name, and add any items you wish to appear.
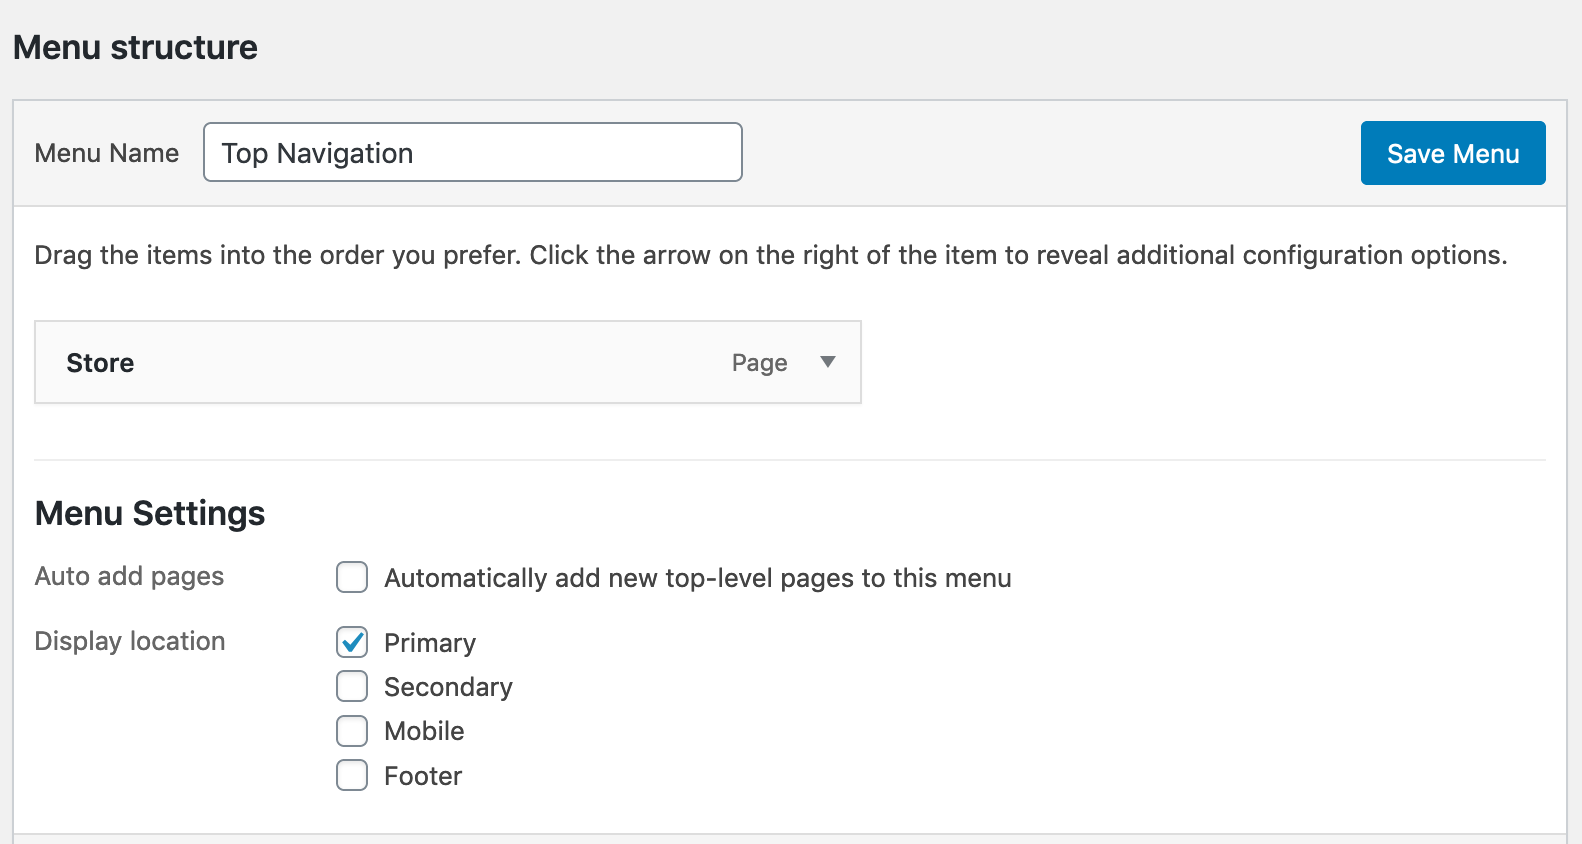
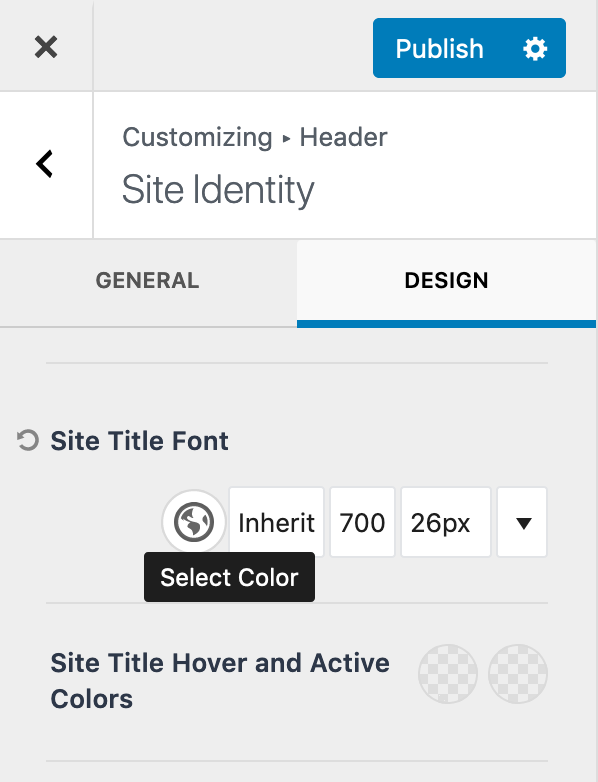
To make the text in the top navigation bar white choose Appearance from the left navigation menu and select Customize. Select the gear icon for both the Logo and Primary Navigation button, and under Design set the Site Title Font to white. Do the same for Tablet/Mobile tab.

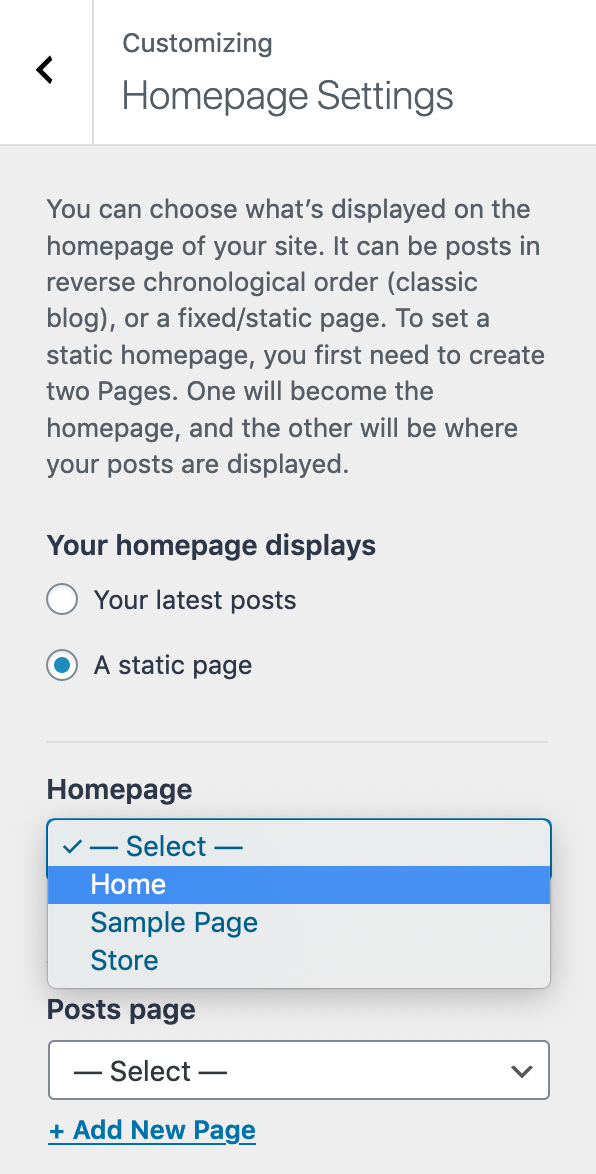
Under Appearance -> Customize -> Homepage Settings make the page we just created the home page for our site. Make sure you have published the page otherwise it won’t appear in the list.
The final header with a background image that we just made for mystic-sundog.com:

Let’s Encrypt using Acme.sh on Centos and Apache

Recently I installed Let’s Encrypt, the free, automated, and open Certificate Authority to websites:

  • brifishjones.com (this website)
  • jenfishjones.com (my wife’s website featuring her paintings)
  • big-dogs-large-stories.com (my wife’s latest artistic collaboration with dog owners)
  • rubycms.org (a content management system I developed over 10 years ago using Ruby on Rails)

I wanted a solution that was written in Shell with no dependencies on Python to eliminate any additional installs, so Acme.sh was chosen. There were a couple of pain points along the way to get https functional so I thought I’d share those with you. Note that this tutorial applies to the following setup:

Begin by logging in to your server as root (or as a user with sudo privileges). Download Acme.sh into your home directory:

# curl https://get.acme.sh | sh

This will create a hidden folder called .acme.sh in your home directory that will contain all of the files, certificates, and keys needed for certification.

Next issue the certificates for each site. Replace /path/to/your/webroot with your actual path. For example:

 # acme.sh --issue -d jenfishjones.com -d www.jenfishjones.com -w /path/to/your/webroot/jenfishjones.com/public_html

Install the certificates (you will need to be root or have sudo privileges):

# acme.sh --install-cert -d jenfishjones.com \
--cert-file /path/to/your/webroot/jenfishjones.com/cert.pem  \
--key-file /path/to/your/webroot/jenfishjones.com/key.pem \
--fullchain-file /path/to/your/webroot/jenfishjones.com/fullchain.pem \
--reloadcmd "service httpd force-reload"

Repeat the installation process for any additional domains then restart Apache:

# service httpd restart

There was a problem restarting Apache.

Starting httpd:
skipping
(98)Address already in use: make_sock: could not bind to address 0.0.0.0:80
no listening sockets available, shutting down
Unable to open logs
[FAILED]

To remedy the problem the old process had to be killed manually (11188 is the process id, yours will be different):

# fuser 80/tcp
80/tcp:              11188
# kill 11188

It is assumed that you already have a functioning Apache server with a secure VirtualHost directive <VirtualHost xx.xx.xxx.xxx:443> already in place in your conf file. For each domain modify /etc/httpd/conf/httpd.conf to include the new certs. Place them within the <VirtualHost xx.xx.xxx.xxx:443> declaration for each ServerName. Note that your conf file may be at a different location:

SSLEngine on
SSLProtocol all -SSLv2 -SSLv3
SSLCertificateFile /path/to/your/webroot/jenfishjones.com/cert.pem
SSLCertificateKeyFile /path/to/your/webroot/jenfishjones.com/key.pem
SSLCertificateChainFile /path/to/your/webroot/jenfishjones.com/fullchain.pem
SSLCACertificateFile /path/to/your/webroot/jenfishjones.com/fullchain.pem

With the certificates added to the httpd.conf file and the server restarted all of the sites served up https except brifishjones.com. Since the server itself had the same name as the website, an outdated certificate at /etc/pki/tls/certs/localhost.crt was being read instead. This was deduced by running the following commands:

# echo | openssl s_client -connect brifishjones.com:443 -servername brifishjones.com 2>/dev/null | awk '/Certificate chain/,/---/'

and:

# grep -r SSLCertificateFile /etc/httpd
/etc/httpd/conf.d/ssl.conf:# Point SSLCertificateFile at a PEM encoded certificate.  If
/etc/httpd/conf.d/ssl.conf:SSLCertificateFile /etc/pki/tls/certs/localhost.crt
/etc/httpd/conf.d/ssl.conf:#   the referenced file can be the same as SSLCertificateFile

To fix the file /etc/httpd/conf.d/ssl.conf was changed so that the Let’s Encrypt generated certificates would be read instead:

# Server Certificate:
# Point SSLCertificateFile at a PEM encoded certificate. If
# the certificate is encrypted, then you will be prompted for a
# pass phrase. Note that a kill -HUP will prompt again. A new
# certificate can be generated using the genkey(1) command.
#SSLCertificateFile /etc/pki/tls/certs/localhost.crt
SSLCertificateFile /path/to/your/webroot/brifishjones.com/cert.pem
# Server Private Key:
# If the key is not combined with the certificate, use this
# directive to point at the key file. Keep in mind that if
# you've both a RSA and a DSA private key you can configure
# both in parallel (to also allow the use of DSA ciphers, etc.)
#SSLCertificateKeyFile /etc/pki/tls/private/localhost.key
SSLCertificateKeyFile /path/to/your/webroot/brifishjones.com/key.pem
# Server Certificate Chain:
# Point SSLCertificateChainFile at a file containing the
# concatenation of PEM encoded CA certificates which form the
# certificate chain for the server certificate. Alternatively
# the referenced file can be the same as SSLCertificateFile
# when the CA certificates are directly appended to the server
# certificate for convinience.
#SSLCertificateChainFile /etc/pki/tls/certs/server-chain.crt
SSLCertificateChainFile /path/to/your/webroot/brifishjones.com/fullchain.pem
# Certificate Authority (CA):
# Set the CA certificate verification path where to find CA
# certificates for client authentication or alternatively one
# huge file containing all of them (file must be PEM encoded)
#SSLCACertificateFile /etc/pki/tls/certs/ca-bundle.crt
SSLCACertificateFile /path/to/your/webroot/brifishjones.com/fullchain.pem

Once the certificate chain was changed to /path/to/your/webroot/brifishjones.com and the Apache server restarted, all sites were up and running with the Let’s Encrypt certificates.

To wrap up there are a couple of items to note. Acme.sh installs a cron job that keeps the certificates up-to-date. You should see a listing like:

# crontab -l
0 0 * * * "/root/.acme.sh"/acme.sh --cron --home "/root/.acme.sh" > /dev/null

If you want to force a manual renewal issue the command:

# acme.sh --renew -d jenfishjones.com --force

Periodically Acme.sh should be updated to the latest version:

# acme.sh --upgrade

Or simply enable auto upgrade and updates will happen automatically:

acme.sh --upgrade --auto-upgrade

As we have now seen, Let’s Encrypt using Acme.sh is a relatively straightforward way to generate signed certificates so that users can visit your websites securely using https.

Giving Day with Socket.IO

Introduction

In recent years college campuses have added Giving Day to entice donors to contribute to their alma maters, and Luther College is no exception. The first online campaign was in 2016, and the main goal that year was to integrate it within the Reason CMS. An improperly coded challenge that gave a higher total pledge was the only glitch, blamed on a mischievous gnome, and corrected quickly behind the scene.

But the application had one serious flaw—users had to refresh their browsers in order to get the latest running pledge totals. Instead what was needed was a secure websocket solution that pushed the information to the browser.

Reason, like many open-source content management products, runs on the LAMP platform. There was already a signed certificate issued by a third party certificate authority on our domain, but I was unable to get the PHP solutions available for websocket servers to work with secure connections. So I looked at socket.io, written in Javascript, that runs on node.js, and was able to construct a websocket server that allows pages served by https to connect.

The state diagram below shows how the socket.io server works with the rest of the Giving Day process:

giving-day-diagram

During the 18-hour window of Giving Day, when a person visits https://www.luther.edu/giving-day

  • the status of each challenge is calculated along with the current total raised
  • challenge totals and the total raised are written in JSON to a temporary file, which will be polled for changes every 15 seconds by the socket.io server
  • and finally a request is made as a socket.io client to securely connect to the socket.io server, ready to get new totals as they become available

The same temporary JSON files are also updated when a pledge form is submitted by calling the php function write_totals():

function write_totals()
// write updated totals to file so that socket io server can read files and broadcast updates to all connected clients
{
	file_put_contents("/var/tmp/giving-day-challenge-totals.txt", json_encode($this->challenge));
	file_put_contents("/var/tmp/giving-day-total.txt", $this->total_amount);
}

Installation and Implementation

If you want to try out a complete solution of this project on a virtual box of your own, please visit https://github.com/brifishjones/giving-day-socketio-server.

Ubuntu by default installs a very old version of nodejs, so get the lastest version instead:

curl -sL https://deb.nodesource.com/setup_8.x | sudo -E bash -

See https://stackoverflow.com/questions/26020917/what-is-the-function-of-etc-apt-sources-list-d and https://stackoverflow.com/questions/28381359/probably-incorrect-release-file-causing-apt-get-update-to-fail if there are errors running the above command.

sudo apt-get install -y nodejs build-essential
nodejs --version
v8.9.4
npm --version
5.6.0

Create a directory for the socket.io server and create a new project:

sudo mkdir /etc/nodejs/giving-day
sudo cd /etc/nodejs/giving-day
sudo npm init

Name the package giving-day, and the entry point server.js then install the socket.io module and add it to package.json

sudo npm install --save socket.io

Create the server.js file:

#!/usr/bin/env node
'use strict';
const fs = require('fs');
const https = require('https');
const port = 4443;
const options = {
    key: fs.readFileSync('/etc/apache2/ssl/wildcard.key'),
    cert: fs.readFileSync('/etc/apache2/ssl/wildcard.crt'),
    ca: fs.readFileSync('/etc/apache2/ssl/gd_bundle-g2-g1.crt'), 
    requestCert: true,
    rejectUnauthorized: false 
};
var connections = [];
var app = https.createServer(options); 
var io = require('socket.io')(app);
var prev_total = 0;
var total = 0;
app.listen(port);
console.log('server started ...');
var timer = setInterval(function() {
  if (connections.length > 0) {
    fs.readFile('/var/tmp/giving-day-total.txt', 'ascii', function(err, content) {
      total = parseInt(content);
      if (total > 0 && total != prev_total) {
        console.log("%s: total amount = $%s", Date(), total.toString());
        io.sockets.emit('update-totals', {total: total.toString()});  
        fs.readFile('/var/tmp/giving-day-challenge-totals.txt', 'ascii', function(err, content) {
          var myjson = JSON.stringify(content);
          var obj = JSON.parse(content);
          io.sockets.emit('update-challenges', obj);  
        });
      }
      prev_total = total;
    });
  }
}, 15000);
io.on('connection', function (socket) {
  socket.once('disconnect', function() {
    connections.splice(connections.indexOf(socket), 1);
    console.log("%s: client id %s disconnected. (%s sockets remaining)", Date(), socket.id, connections.length);
    socket.disconnect();
  });
  connections.push(socket);
  console.log("%s: client id %s connected at ip %s. (%s sockets connected)", Date(), socket.id, socket.conn.remoteAddress, connections.length);
})

The client-side connection is quite simple since it is only receiving a simple emit from the socket.io server. In the Reason CMS module that displays the giving-day page first reference the socket.io javascript file:


Display the grand total:


Total Raised

$123,456

And the javascript that securely connects to the socket.io server and then updates the total when the socket.io server emits an update-totals message:


var socket = io(connecthost + ':4443', {secure: true});
socket.on('update-totals', function (data) {
	document.getElementsByClassName("money-raised")[0].innerHTML = "$" + data.total.replace(/\B(?=(\d{3})+(?!\d))/g, ",");
});
giving-day-diagram

To make the giving day socket.io server into a service, add the following code to /etc/init/giving-day-socket-server.conf:


To start service:


To stop service:


The socket-server console.log messages will be saved in the log file: /var/log/node.js

The Final Results

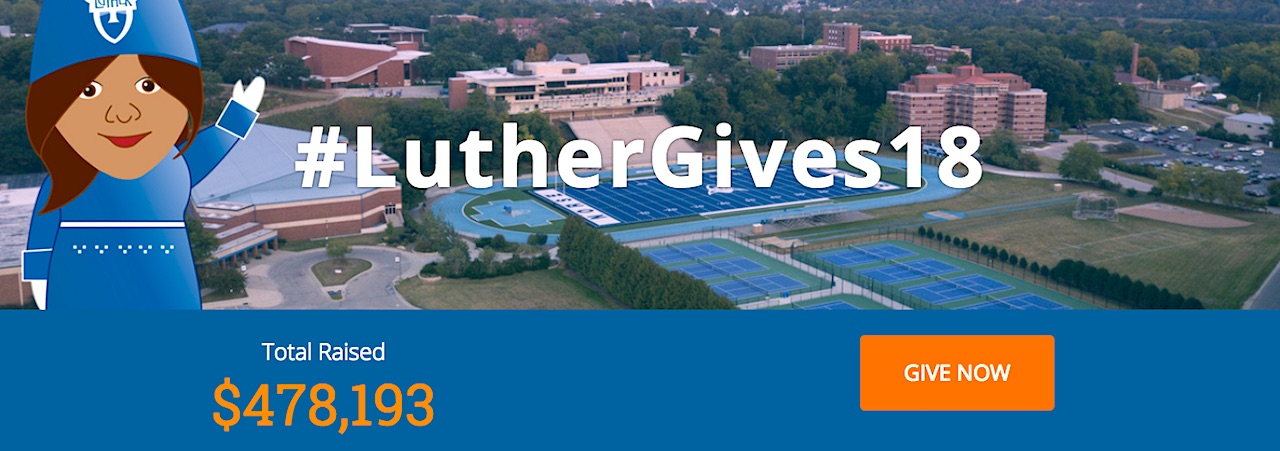
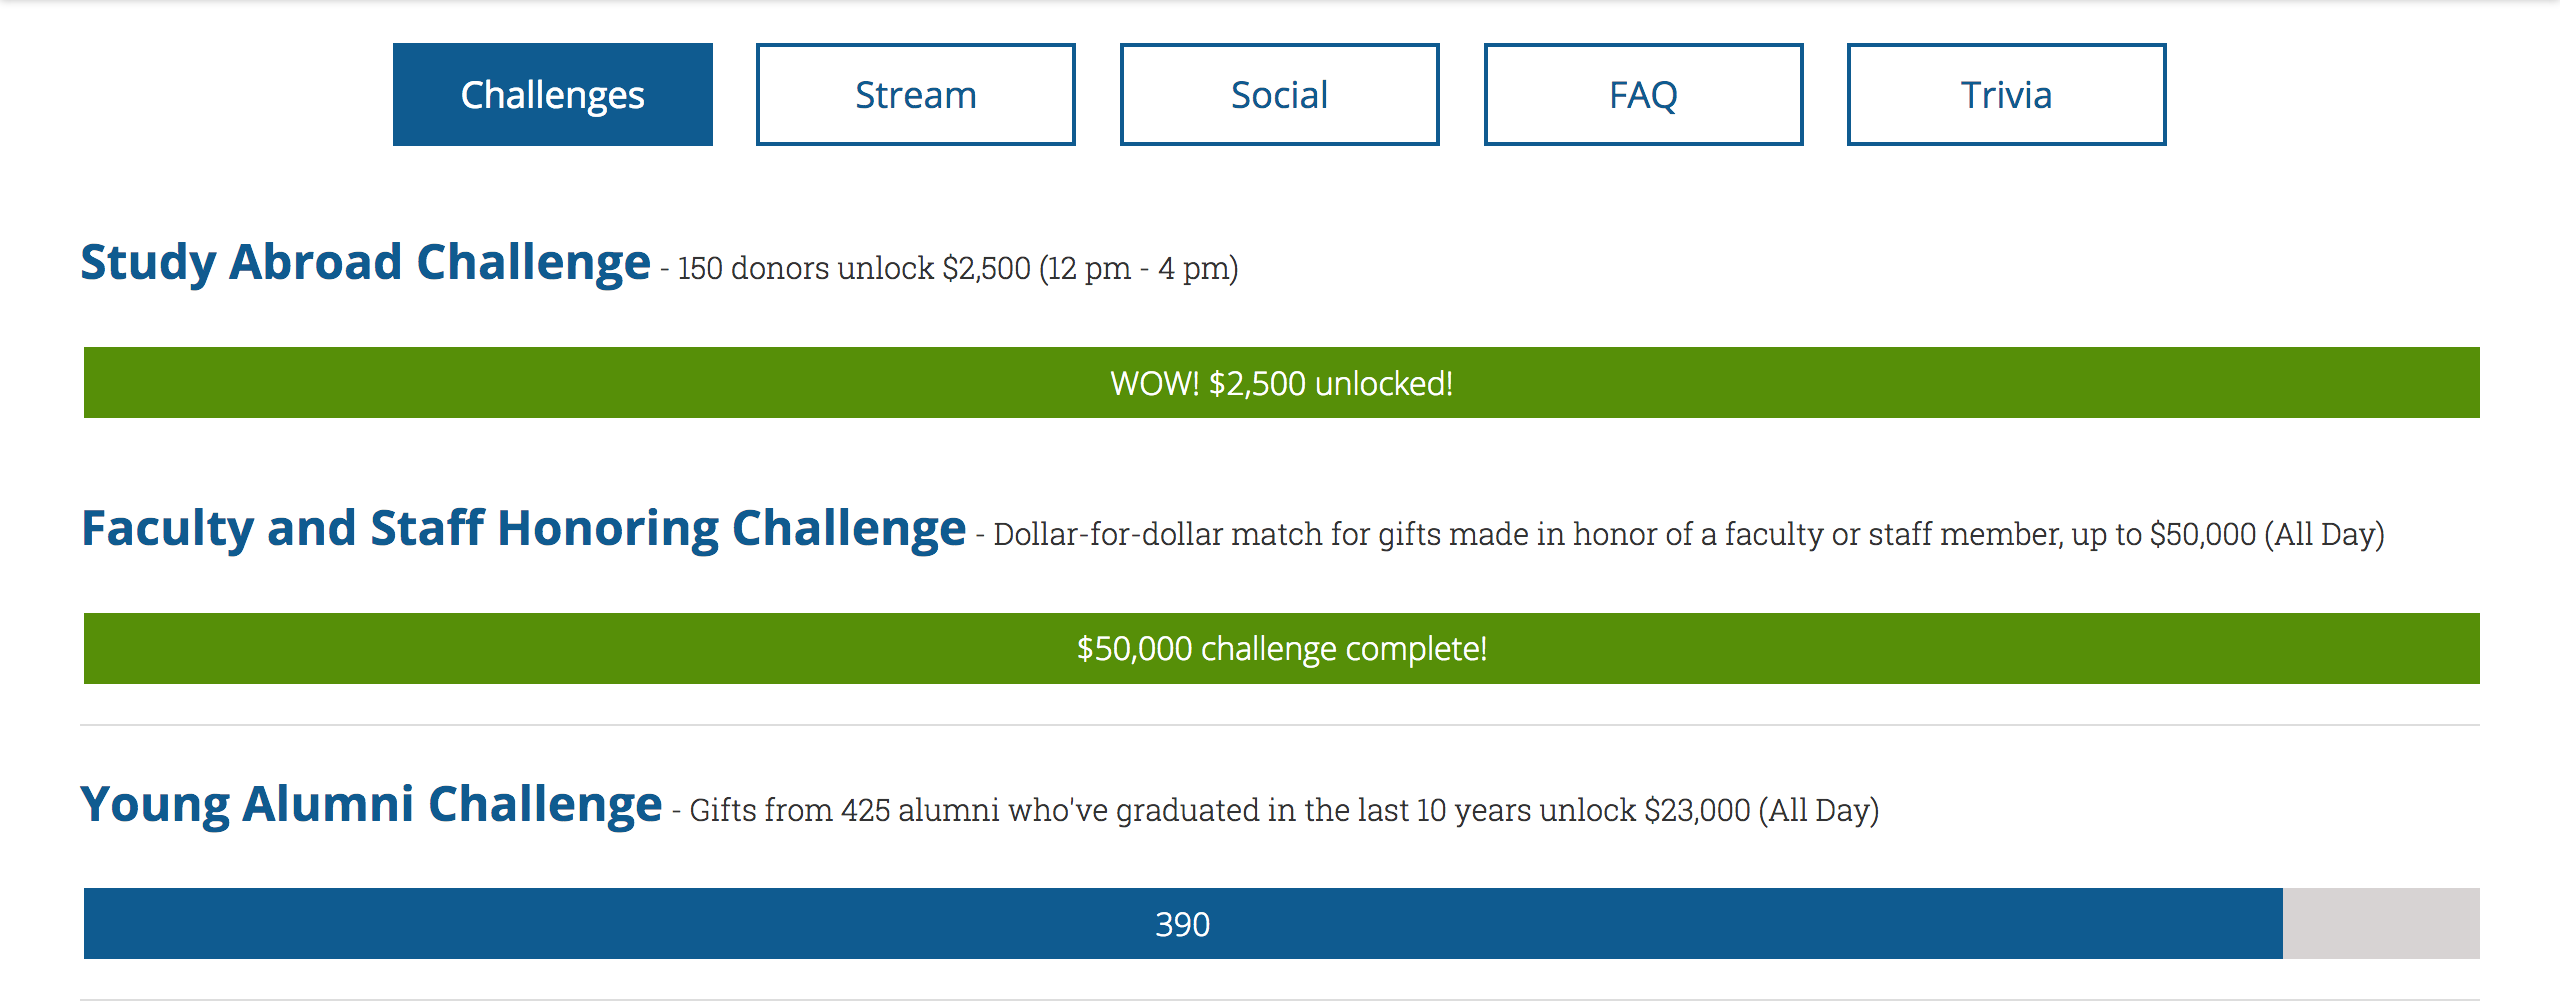
On Giving Day the socket.IO server had at its peak about 250 connected clients, which were each updated with challenge progress during the course of the day.

giving-day-challenges

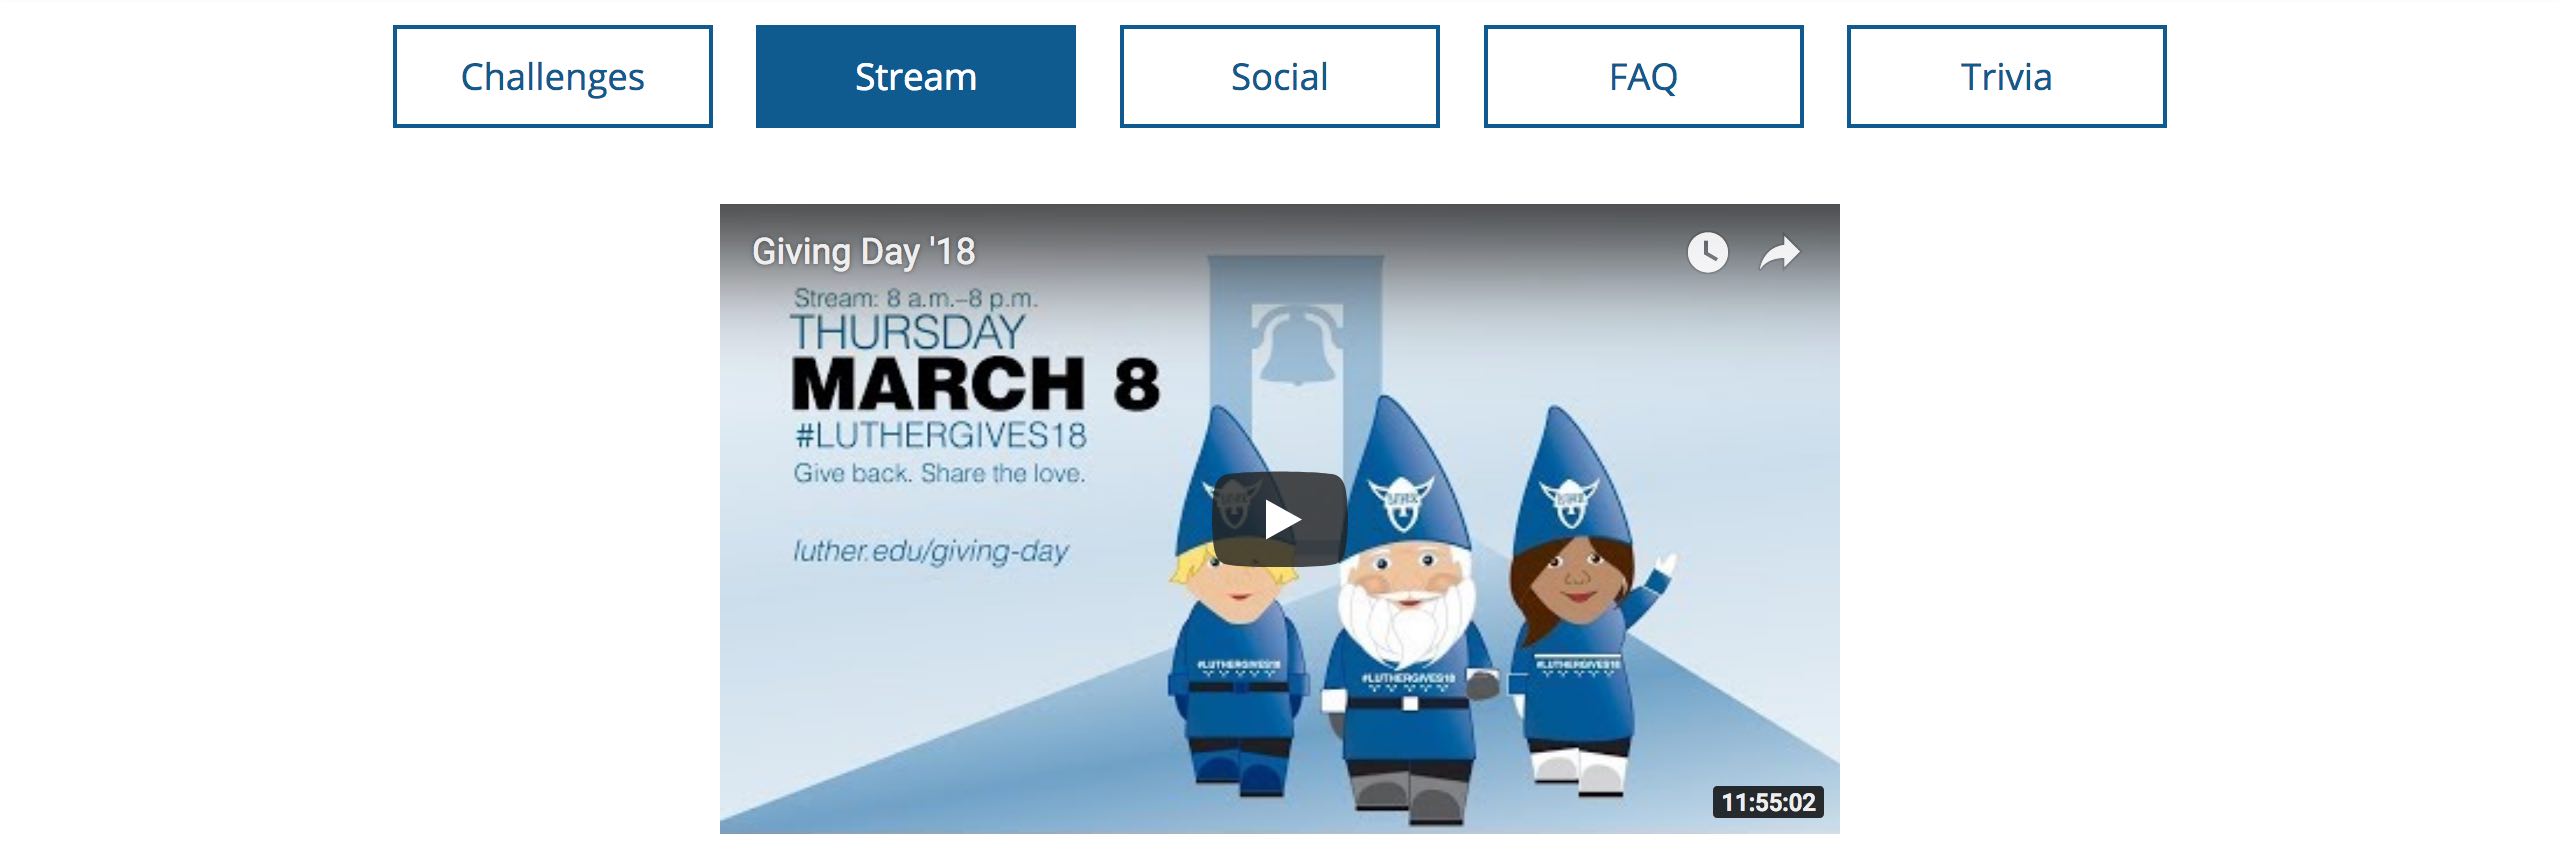
Viewers to the website could also access a live video feed of interviews with faculty, staff, students, and alumni.

giving-day-stream

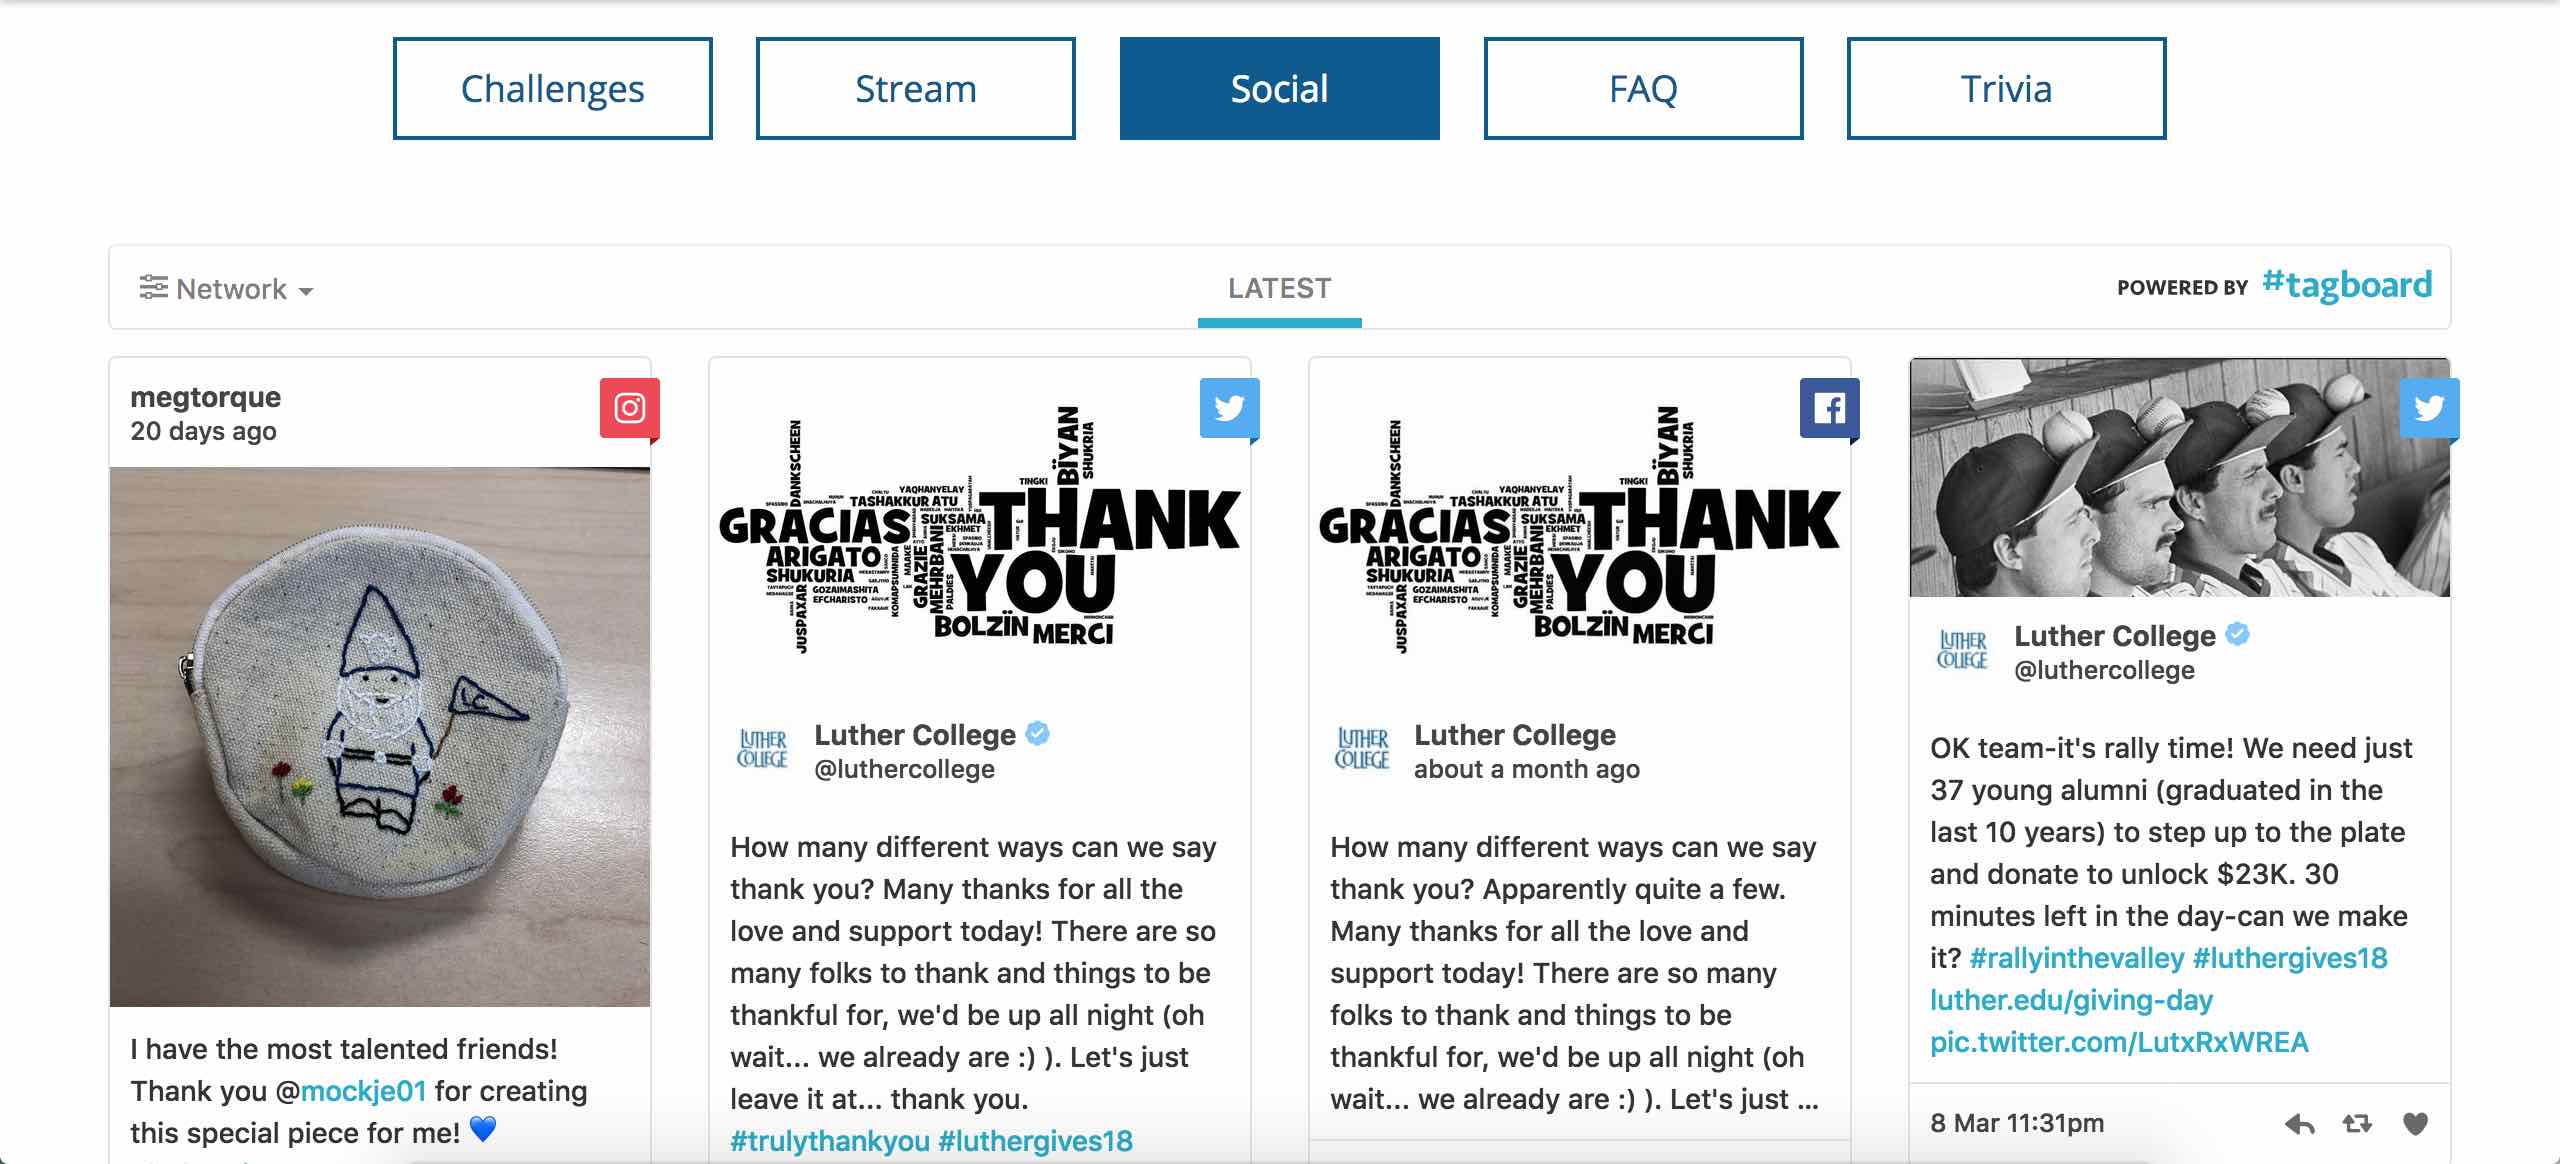
Or could check out the latest social media posts using Tagboard.

giving-day-social

House

Ever since I was an architecture student at the University of New Mexico I had always wanted to design and build my own home. With three years of construction experience under my belt and enough time gone by that I had forgotten how hard the work was the project began.

Stage, a 3D graphics package I wrote in openGL, was used for the design phase. Every stud and joist was modeled, which proved invaluable when a friend and I did the actual framing. Since we live in a small town without a building inspector all that was required was a small fee for a building permit.

After the foundation was poured in late August of 2006 it took four months of weekends plus a few vacation days and holidays to finish the skeleton. Fortunately El Niño brought warm weather early that winter and the last roof rafter was hoisted into place on a snowless, foggy New Year’s Eve.

The end of framing is in sight.

Although I wired the entire house myself and assembled the drain waste and vent plumbing into a finished functional system it became apparent that the house would take years to finish without the help of subcontractors. Acting as general contractor over the following spring, summer, and fall I organized the installation of siding, metal roof, geothermal heating and cooling system, supply plumbing, doors, windows, sheetrock, and painting.

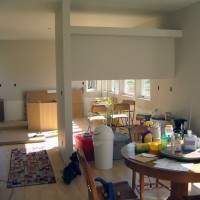
We moved in the beginning of November just after the last construction crew departed. At that point running water consisted of one toilet and a frigid outdoor spigot so we showered at the gym. We cooked with a microwave and toaster oven and ate off of paper plates. The house had a chill but we could all retreat to the master bedroom close the door and turn on the space heater to warm up. All of the luxuries of camping and then some.

The heating system came online a few weeks later when the main electrical panel was energized and temporary panel finally decommissioned. When the outlets on a given circuit were installed and activated it was a cause for celebration. A shower was installed so there was a place to bathe (and wash dishes). As soon as the flooring went down on the main level the dining room table was moved out of the garage.

Version 1.0 of house has been launched.
Version 1.0 of House has been launched.

Over the winter my wife and I assembled the Ikea kitchen. By the end we could put together a cabinet in our sleep. Bathroom sinks went in and the upstairs shower and bath were tiled. The tarp hanging in the opening to the garage was replaced with an actual door. A deck was finally added in 2009.

I write software for a living and building a house is certainly more physically demanding than coding but the two processes are remarkably similar in many ways—at least the way I built our house. The necessities were in place—a roof over our heads—when we moved in. Our home was beautiful, a joy to live in. The design worked, and when the less critical features were added they enhanced an already strong base.

Oh, did I mention that we still don’t have a doorbell? Ironically it was the first thing we bought. When you come for a visit you’ll have to knock.