A full-width responsive header at the top of a homepage without css tweaks is a relatively straight-forward process in WordPress with the Gutenberg editor and Kadence blocks. This solution offers minimal bloat with fast page loads.
What you’ll need to get started is:
- WordPress 5.5 or greater
- Kadence blocks plugin
- Kadence theme, which (as of this writing) must be downloaded and installed from https://kadence-theme.com
Be sure to activate the Kadence theme once it is installed.

If you plan on experimenting with other Gutenberg blocks you can optionally install these plugins:
- advanced-custom-fields
- advanced-gutenberg-blocks
- atomic-blocks
- custom-color-palette
- editor-blocks
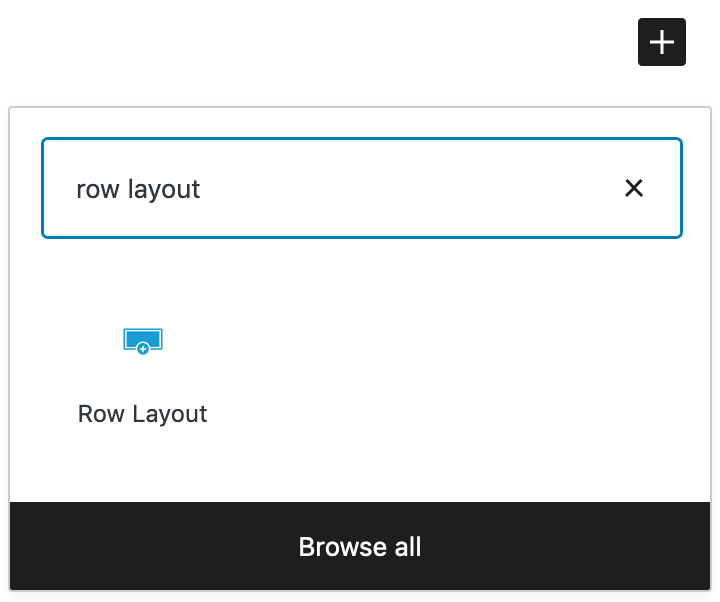
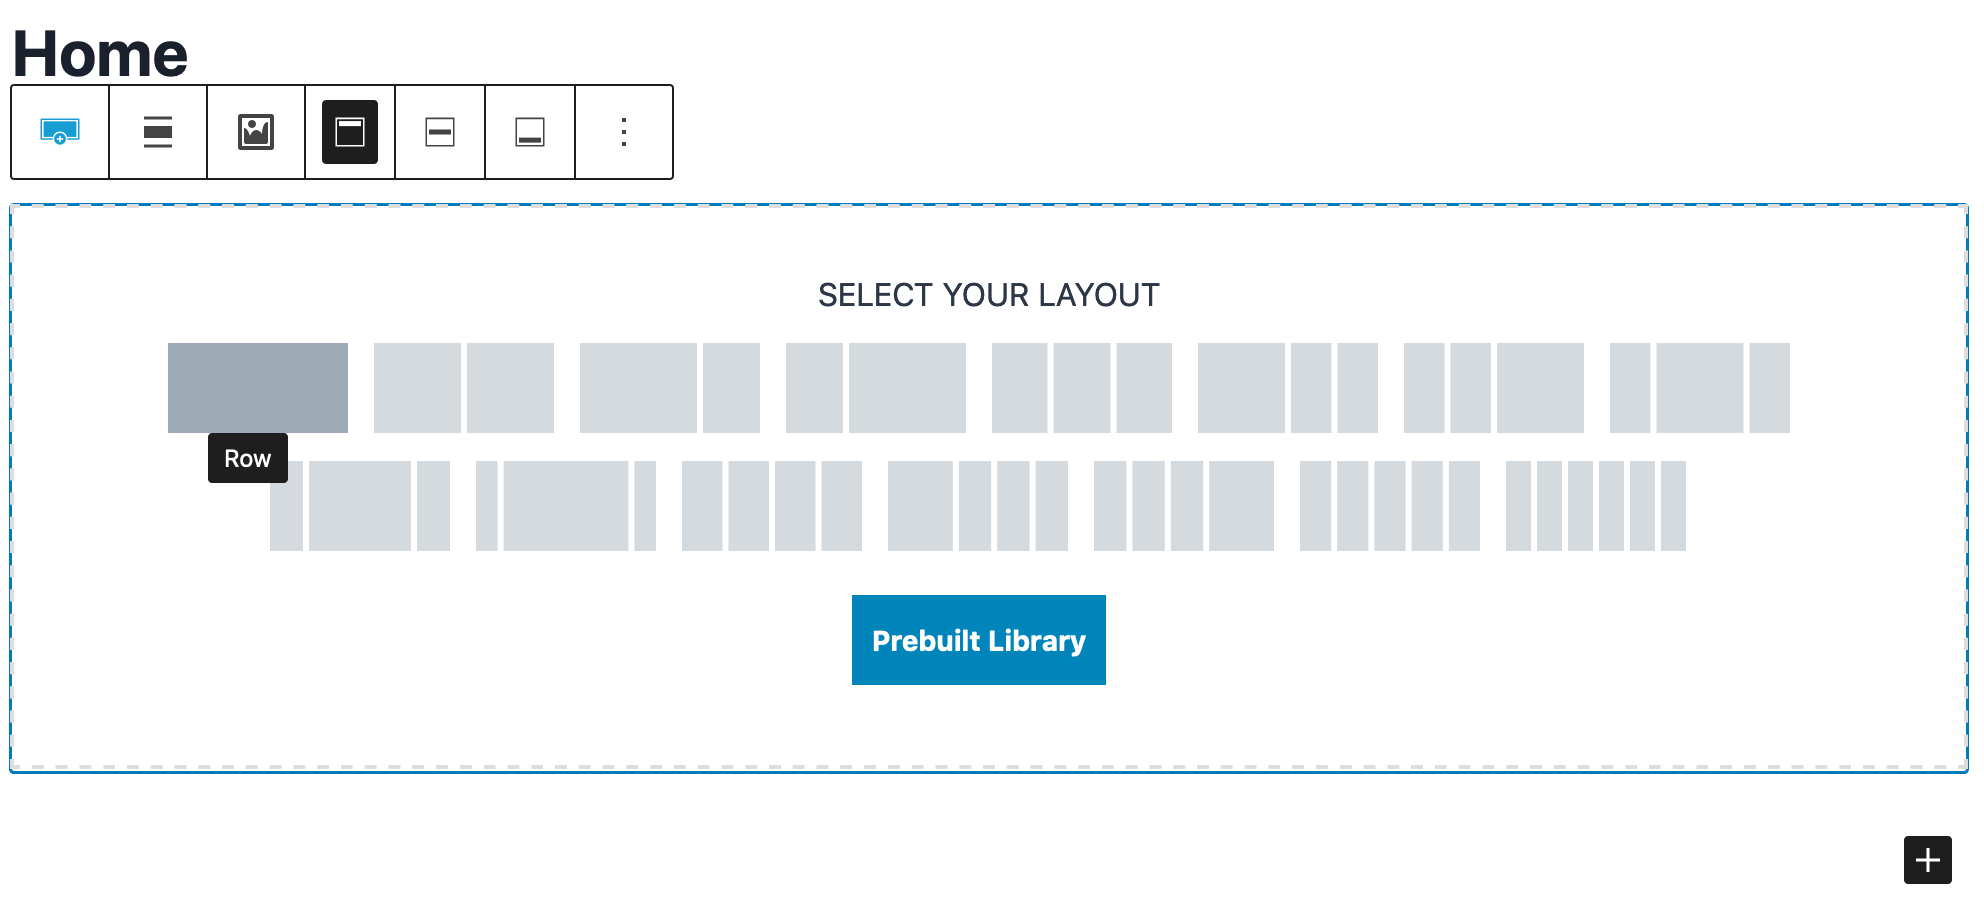
Let’s get started by first creating a home page. Go to Pages and click the Add New button. Enter Home for the page title. Click the + to add a new block and choose the Kadence Row Layout block. Select one column from the list of column options.
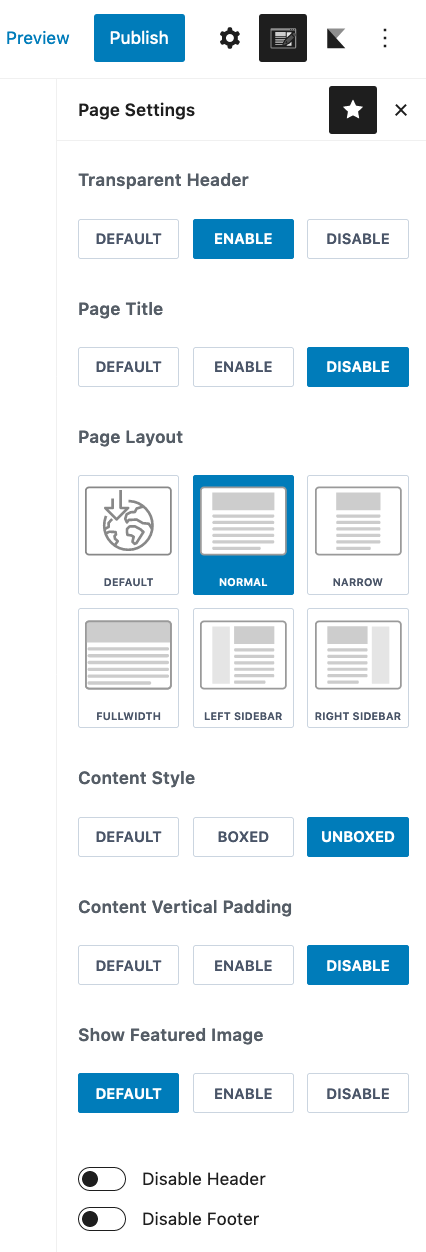
 In the right column set the Page Settings as shown in the image below:
Now set the background image by selecting the Background Image icon in the Row Layout block. Choose an image that can be displayed both horizontally and vertically. A good rule of thumb is to have a horizontal width of 1920 pixels and a vertical width of 1280 pixels. The image size should be in the 300 to 500k pixel range.
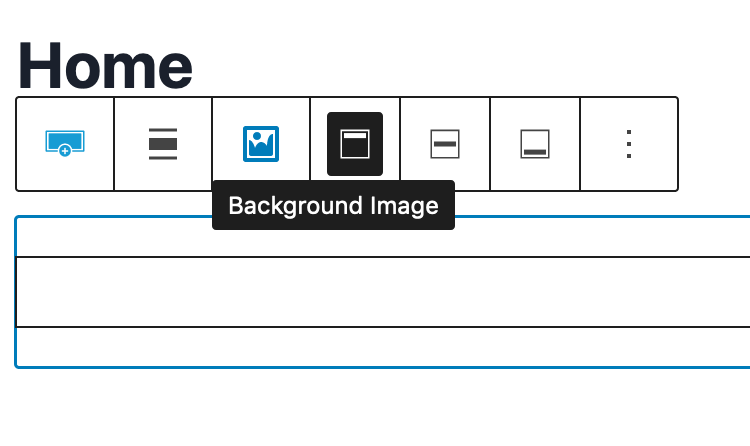
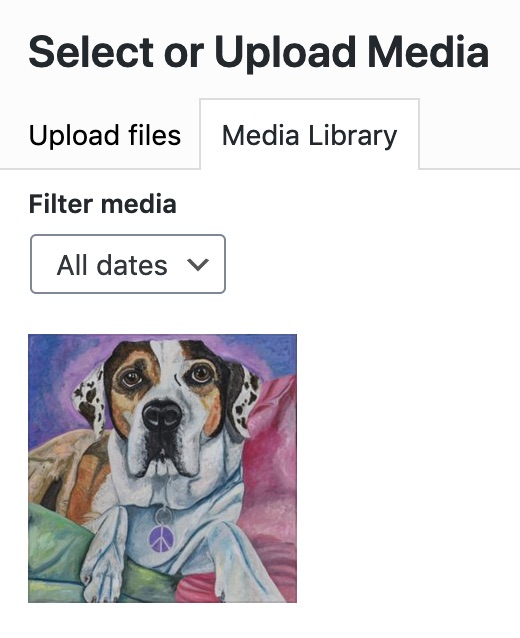
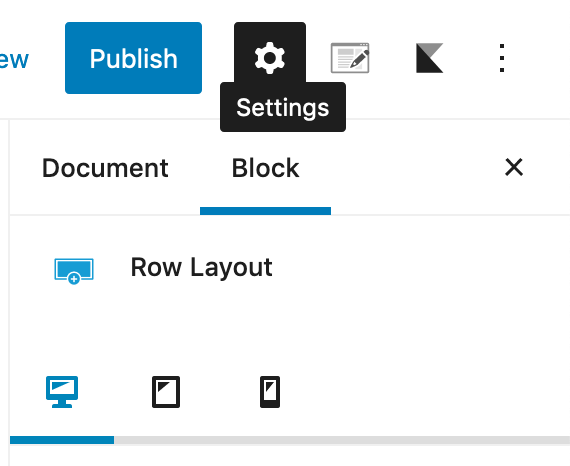
 Once the background image appears in the page edit window, the settings for the Row Layout block need attention.
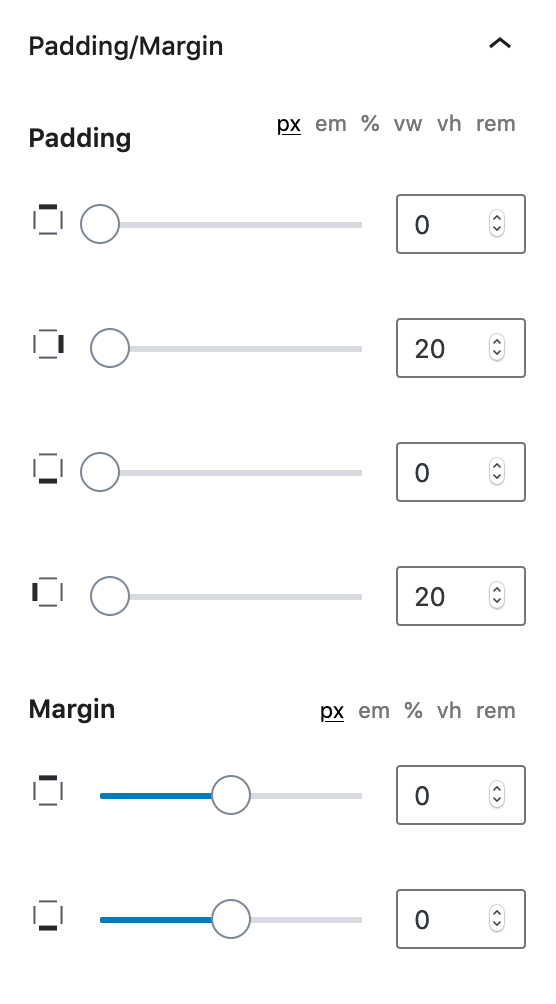
Alter the Padding/Margin dropdown:
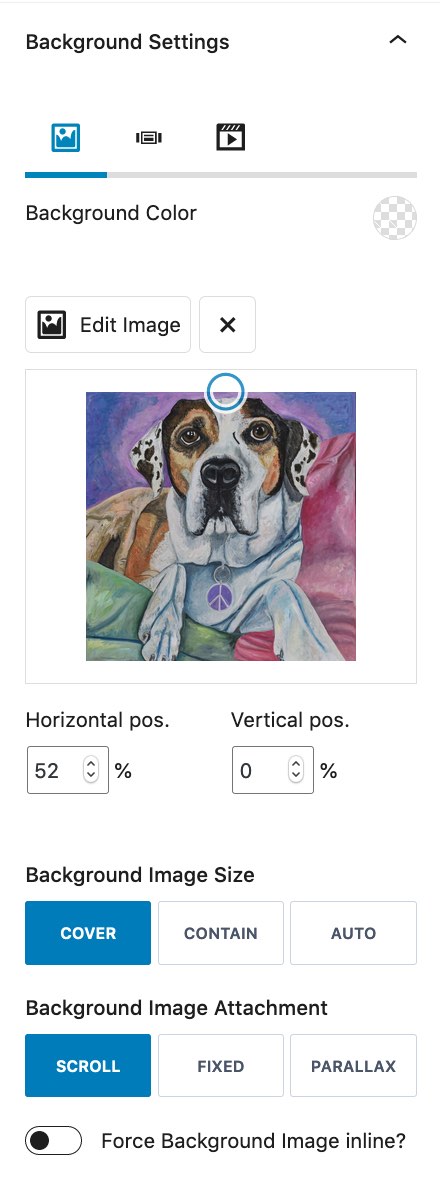
Under Background Settings set appropriate Horizontal and Vertical positions using the blue circle on the thumbnail image so that the image renders the most important content on all devices.
Set the Overlay Capacity to 0 in Background Overlay Settings.
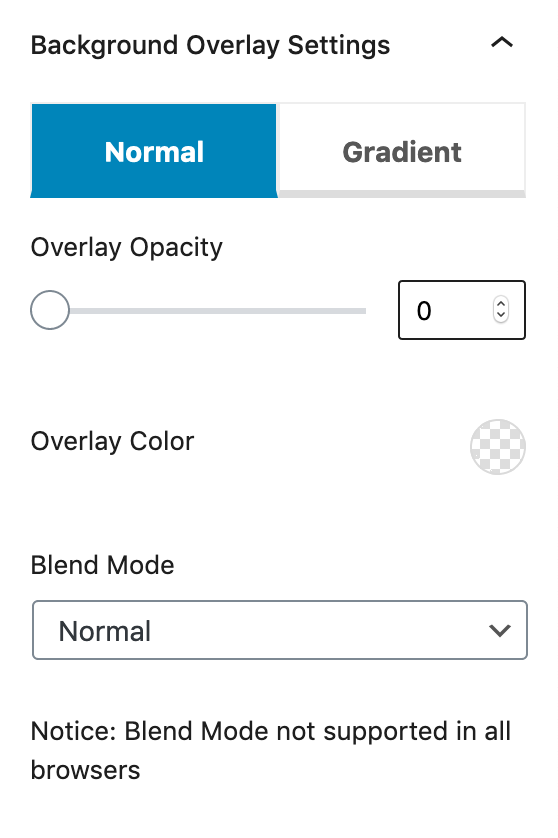
For the purposes of this demonstration set the text, link, and link hover colors to white.
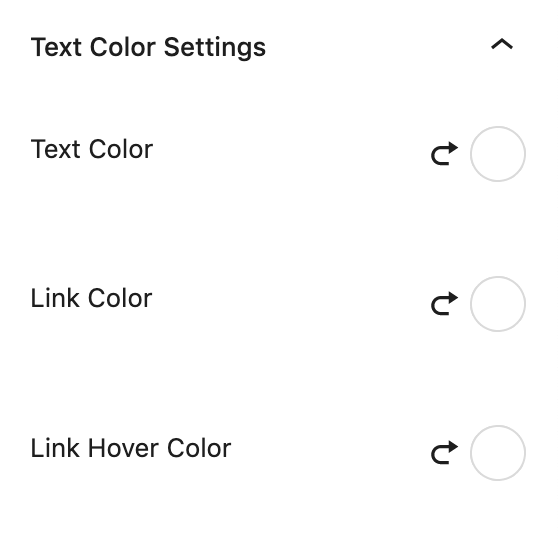
Finally the Structure Settings should be changed.
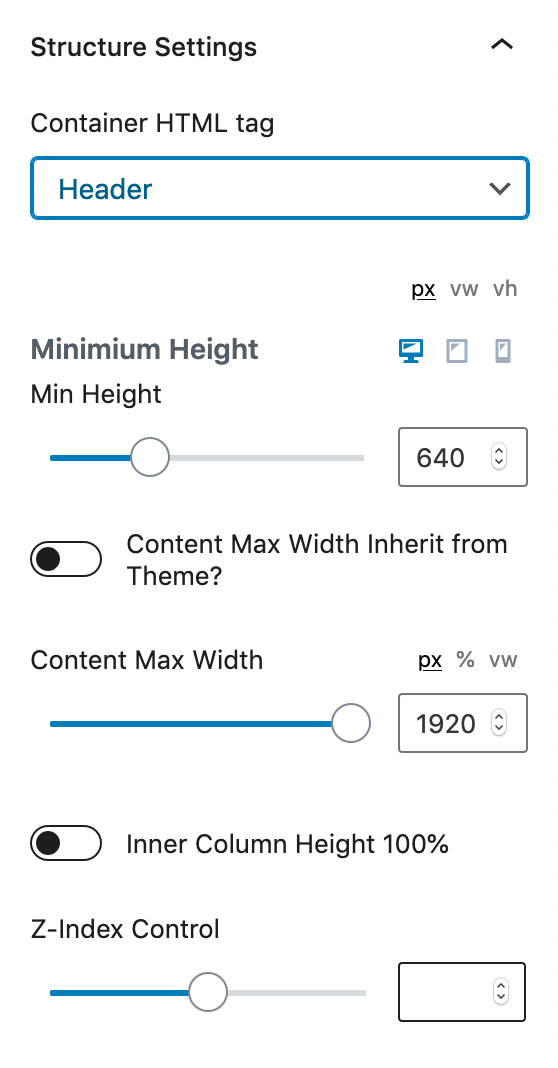
The last modifications to the Row Layout block are to:
- change alignment to Full width
- chose Vertical Align Bottom
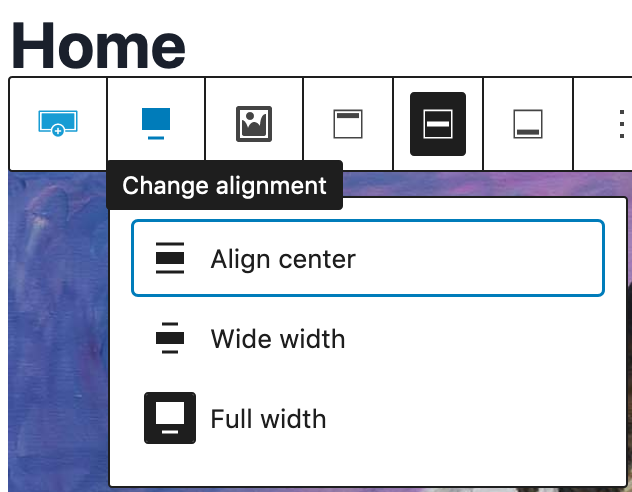

Now that the background image is in place let’s move on to the headings. With the column block selected from the Block Navigation menu add the Kadence Advanced Heading block. Make it an H1 block and adjust the font size.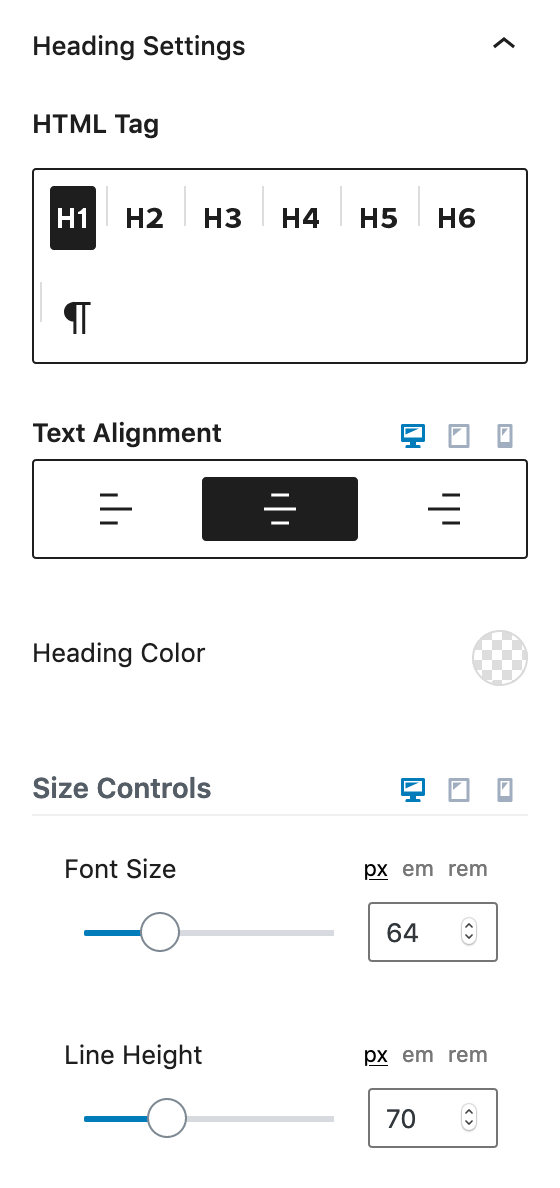
Add another Advanced Heading block, this time an H4 block.
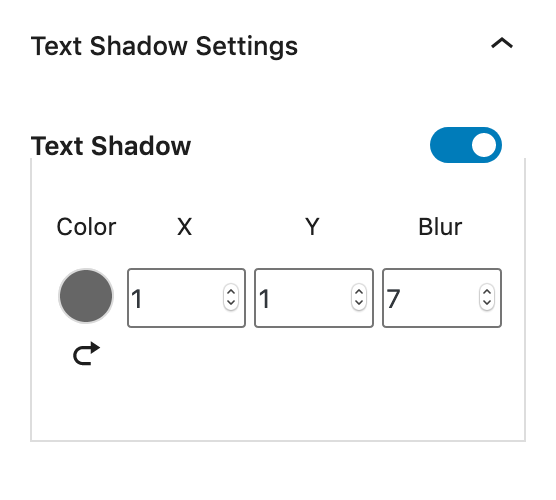
Add a text shadow so that the white text will pop against lighter colors in the background image.
Optional: If a call-to-action is desired finish off with a Kadence Advanced Button.
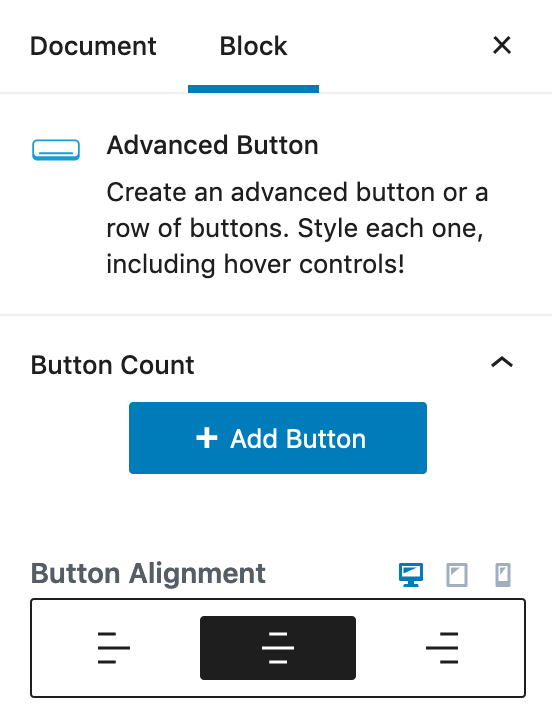
Feel free to change the button parameters such as size, background color, and hover color to suite your design.
Once H1 and H4 headings, and buttons are present font size, margins and line heights can be tweaked for desktop, tablet, and mobile designs. You can preview each size and make adjustments as needed.
The last step is to add a custom menu to the top navigation bar and make the text white. Publish the page you have been working on then choose Dashboard from the left navigation menu and select Manage Menus under More Actions. Make Top Navigation the Menu Name, and add any items you wish to appear.
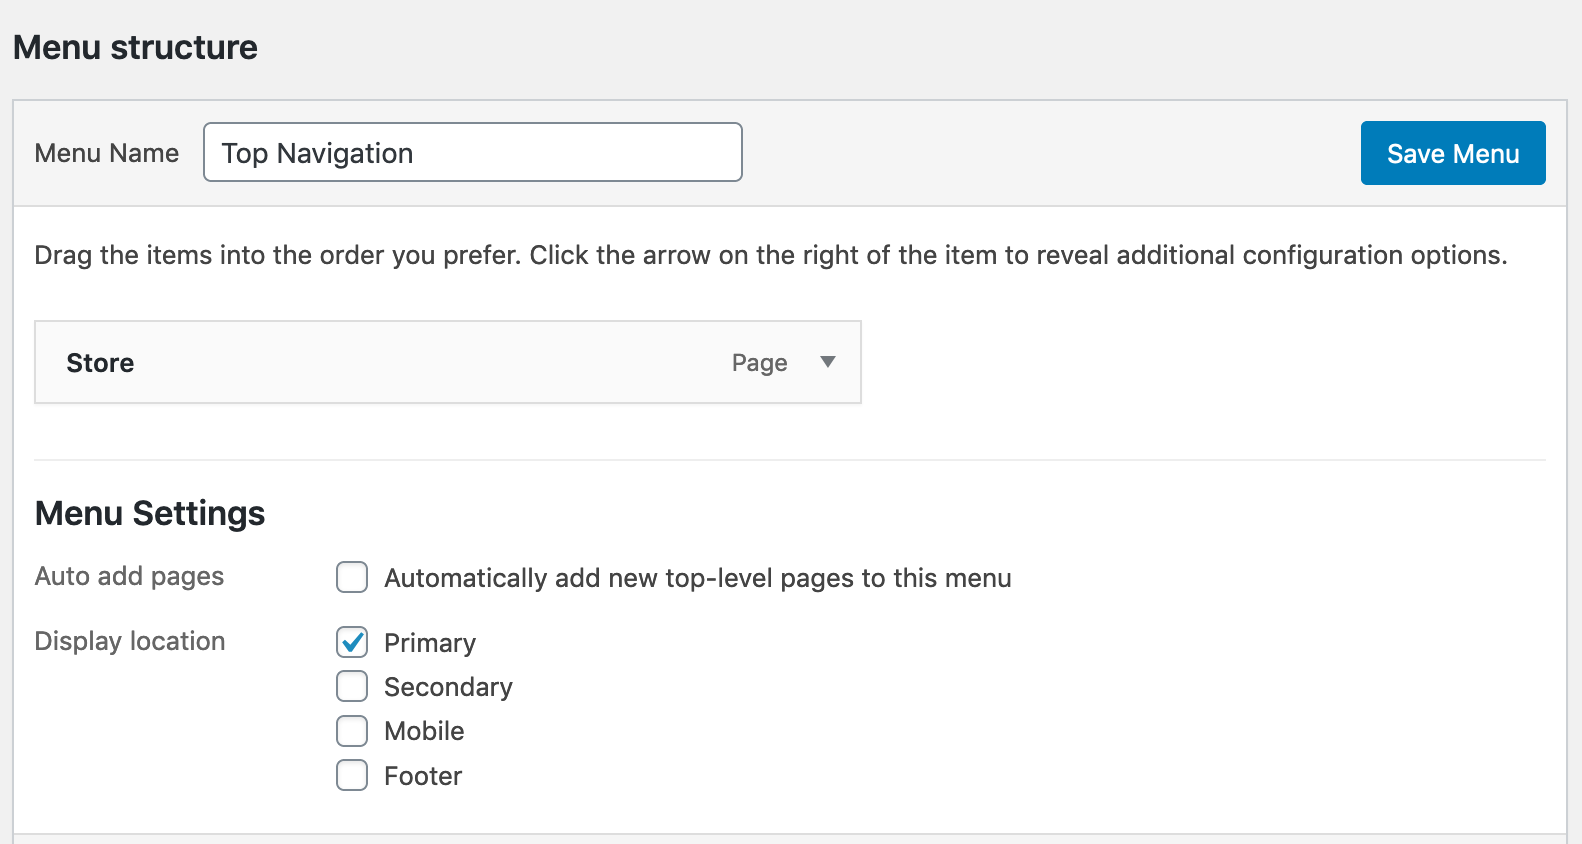
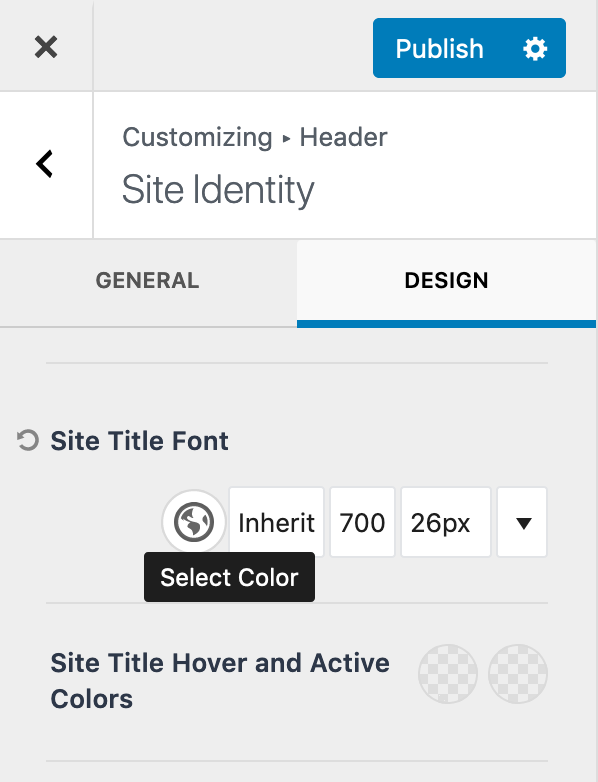
To make the text in the top navigation bar white choose Appearance from the left navigation menu and select Customize. Select the gear icon for both the Logo and Primary Navigation button, and under Design set the Site Title Font to white. Do the same for Tablet/Mobile tab.

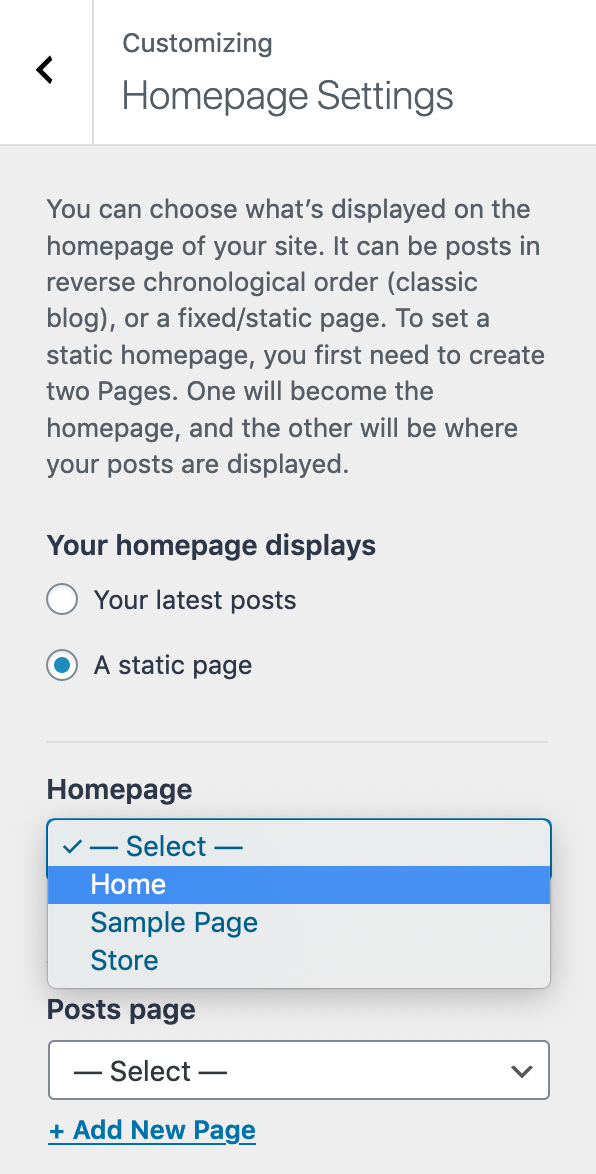
Under Appearance -> Customize -> Homepage Settings make the page we just created the home page for our site. Make sure you have published the page otherwise it won’t appear in the list.
The final header with a background image that we just made for mystic-sundog.com:
